How to Install
Before You Start
To install EV Hover be sure you can:
• Locate a stud or other suitable support in the wall. Know the location of electrical wires in walls
• Drill holes for and install screws
• Lift 20 pounds above your head for a long enough duration to attach the arm to the plate. Contact a licensed contractor if you cannot confidently meet these requirements.
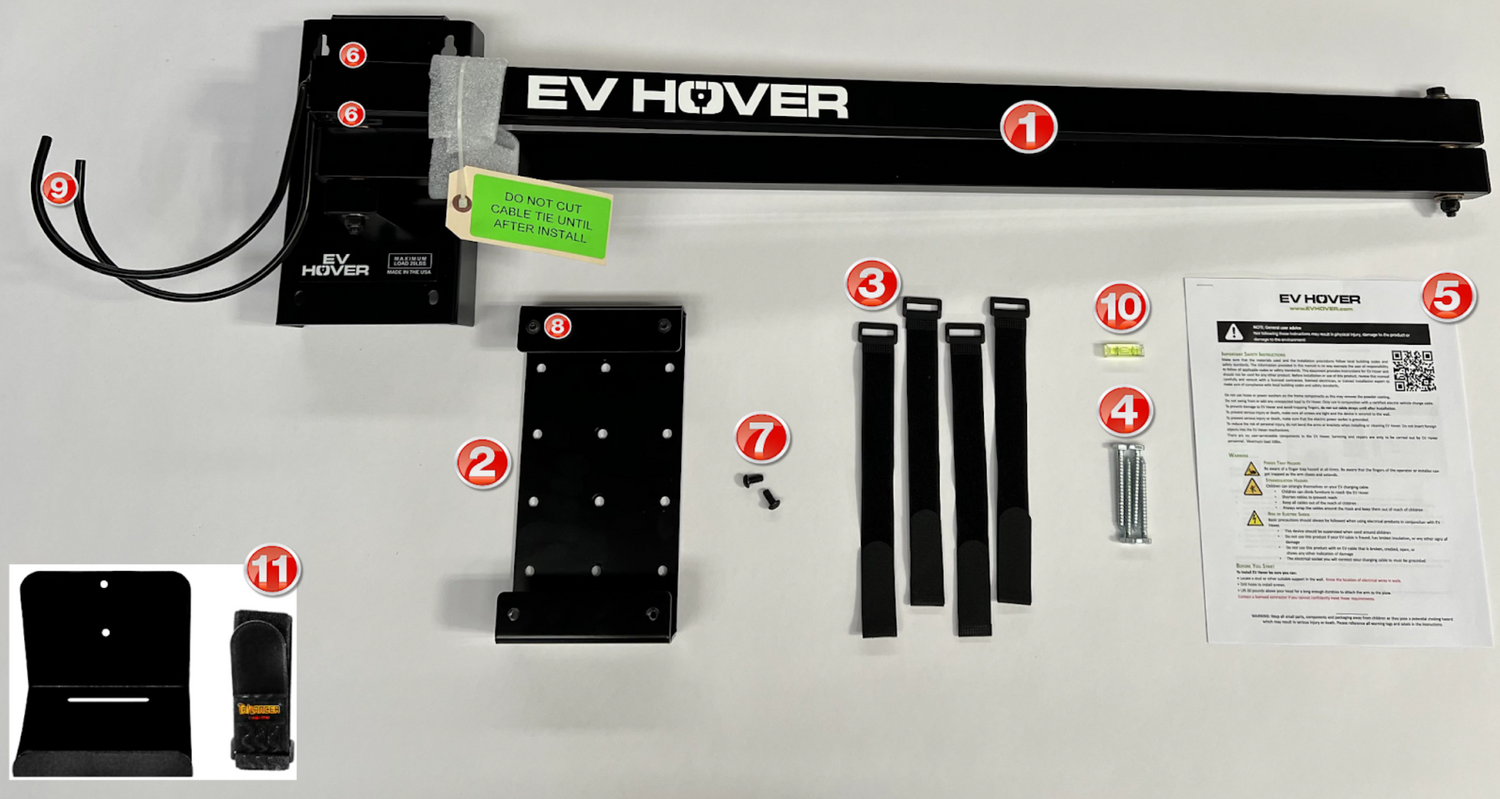
EV Hover Parts
[1] EV Hover
[2] Wall Mount Bracket
[3] 4 Velcro Straps
[4] 4 ¼” x 2 ½” - 7/16” Hex Head Lag Bolts
[5] Instruction Manual
[6] 4 Number 8 x ⅜” Sheet Metal Screws
[7] 2 ¼” - 20 x ¾” Button Head Socket Cap Screw
[8] 2 ¼” - 20 x ½” Button Head Socket Cap Screw
[9] Hook
Tools Provided
[10] Level
Optional
[11] Adapter Wall Bracket
If you've purchased an Extender, click below for installation instructions:
How to Install the Extender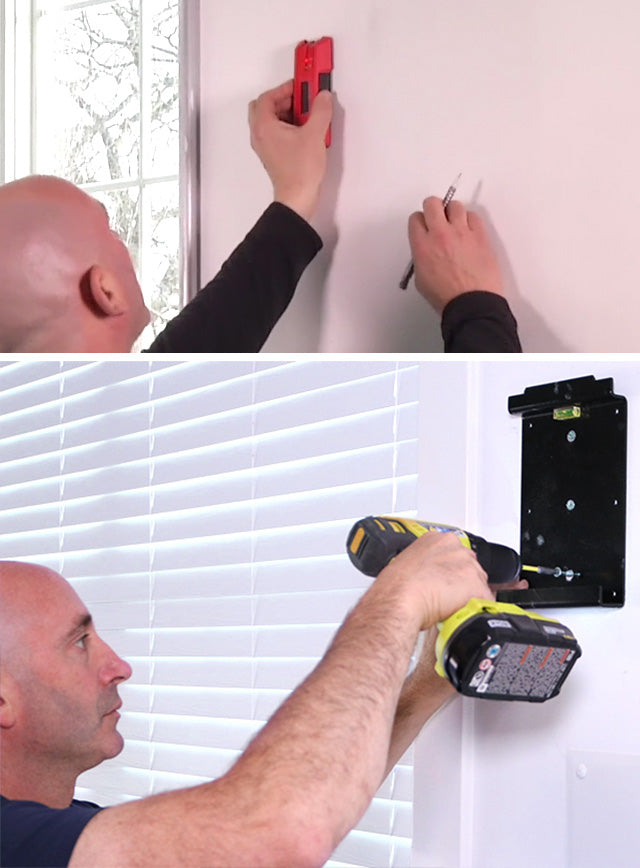
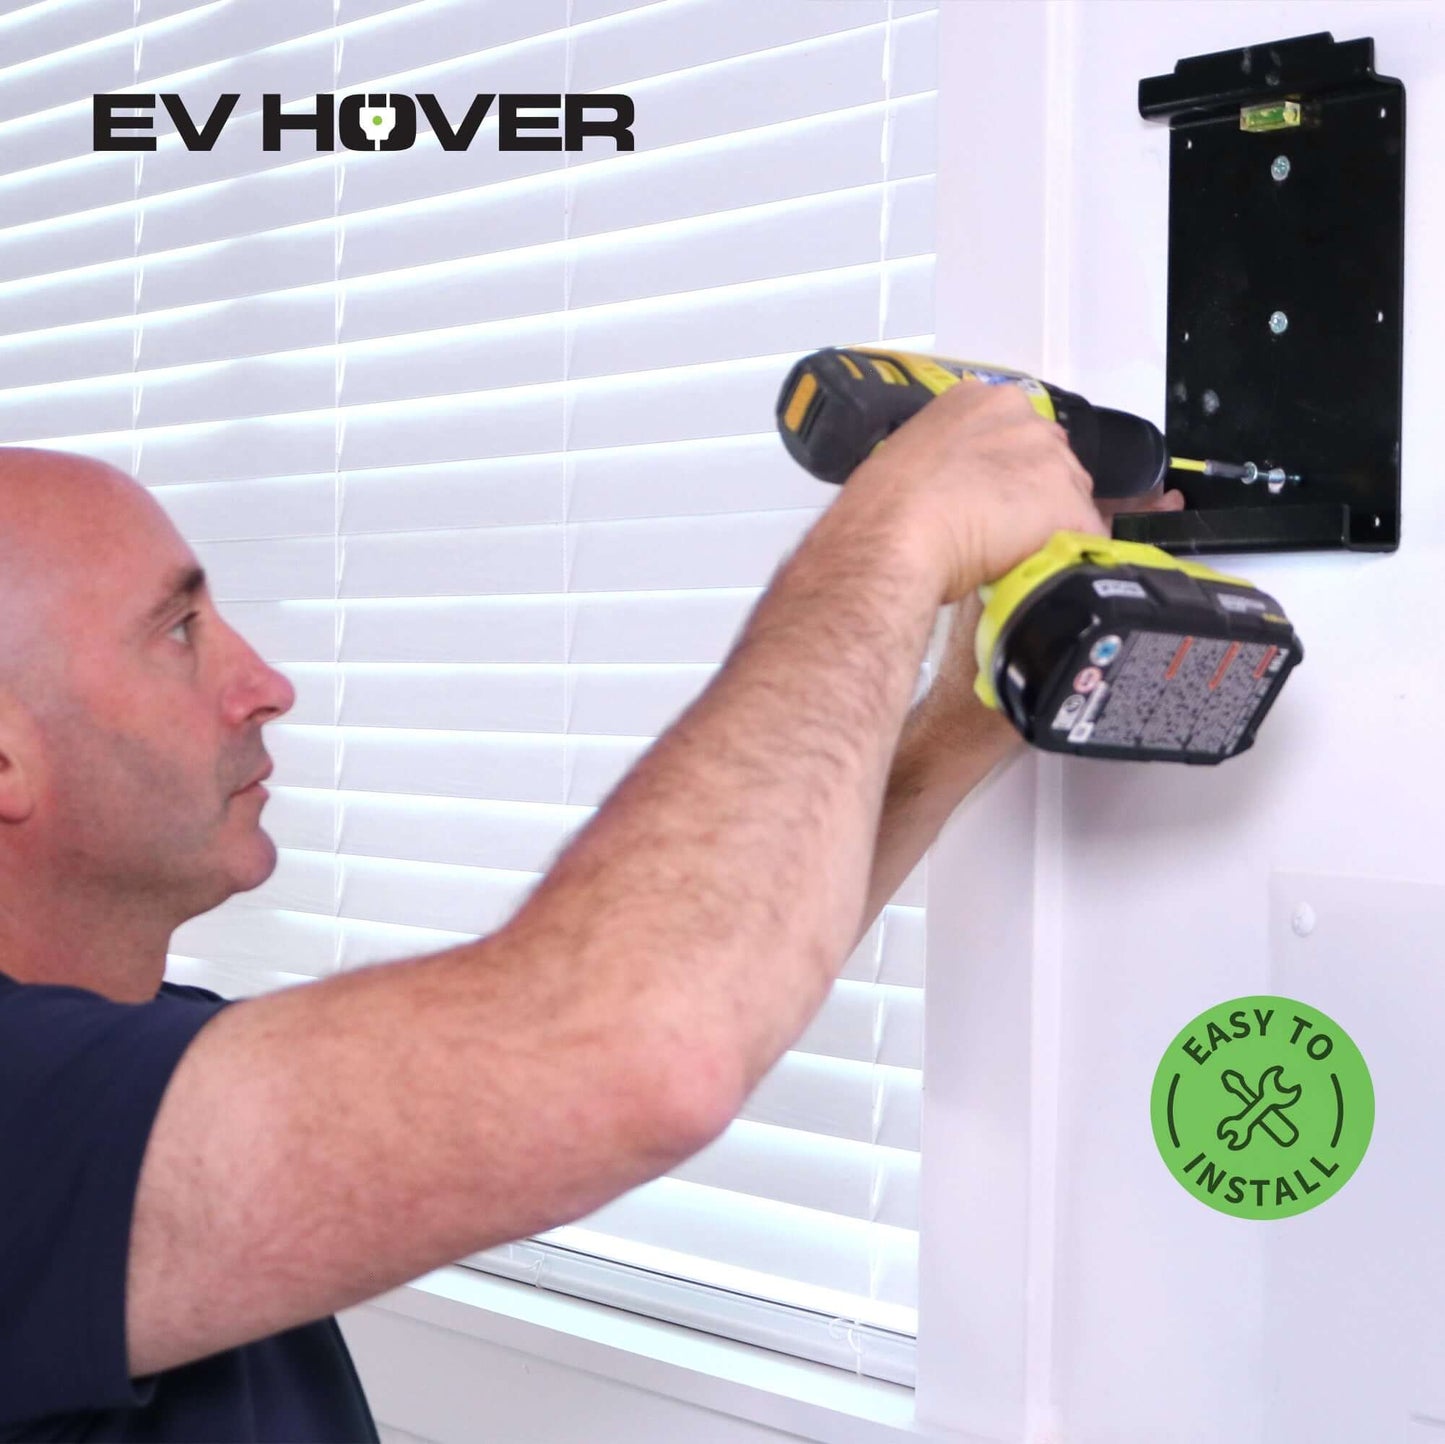
Step 1 - Mount Wall Bracket [2]
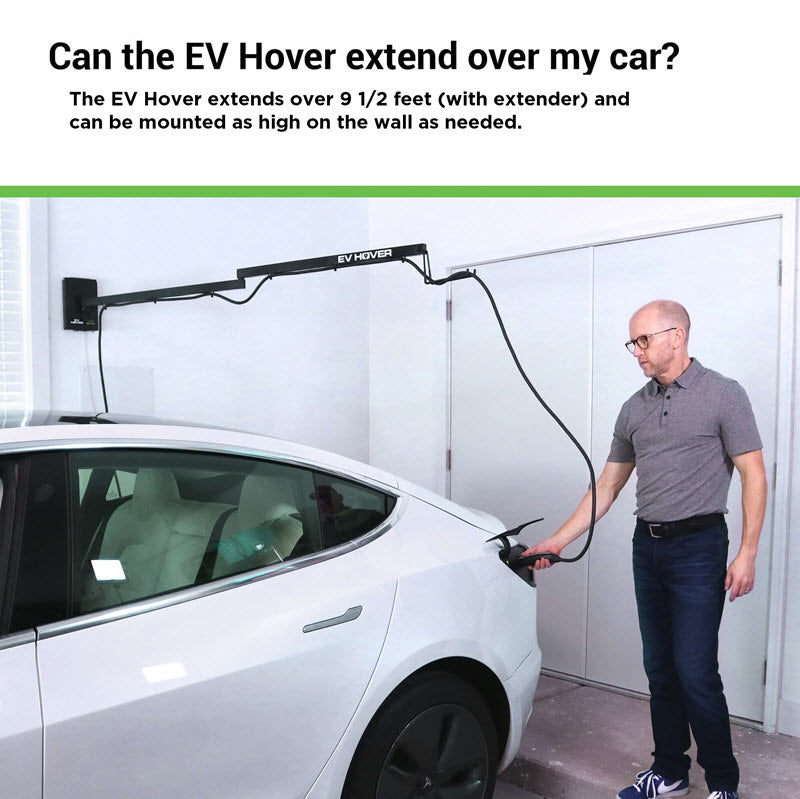
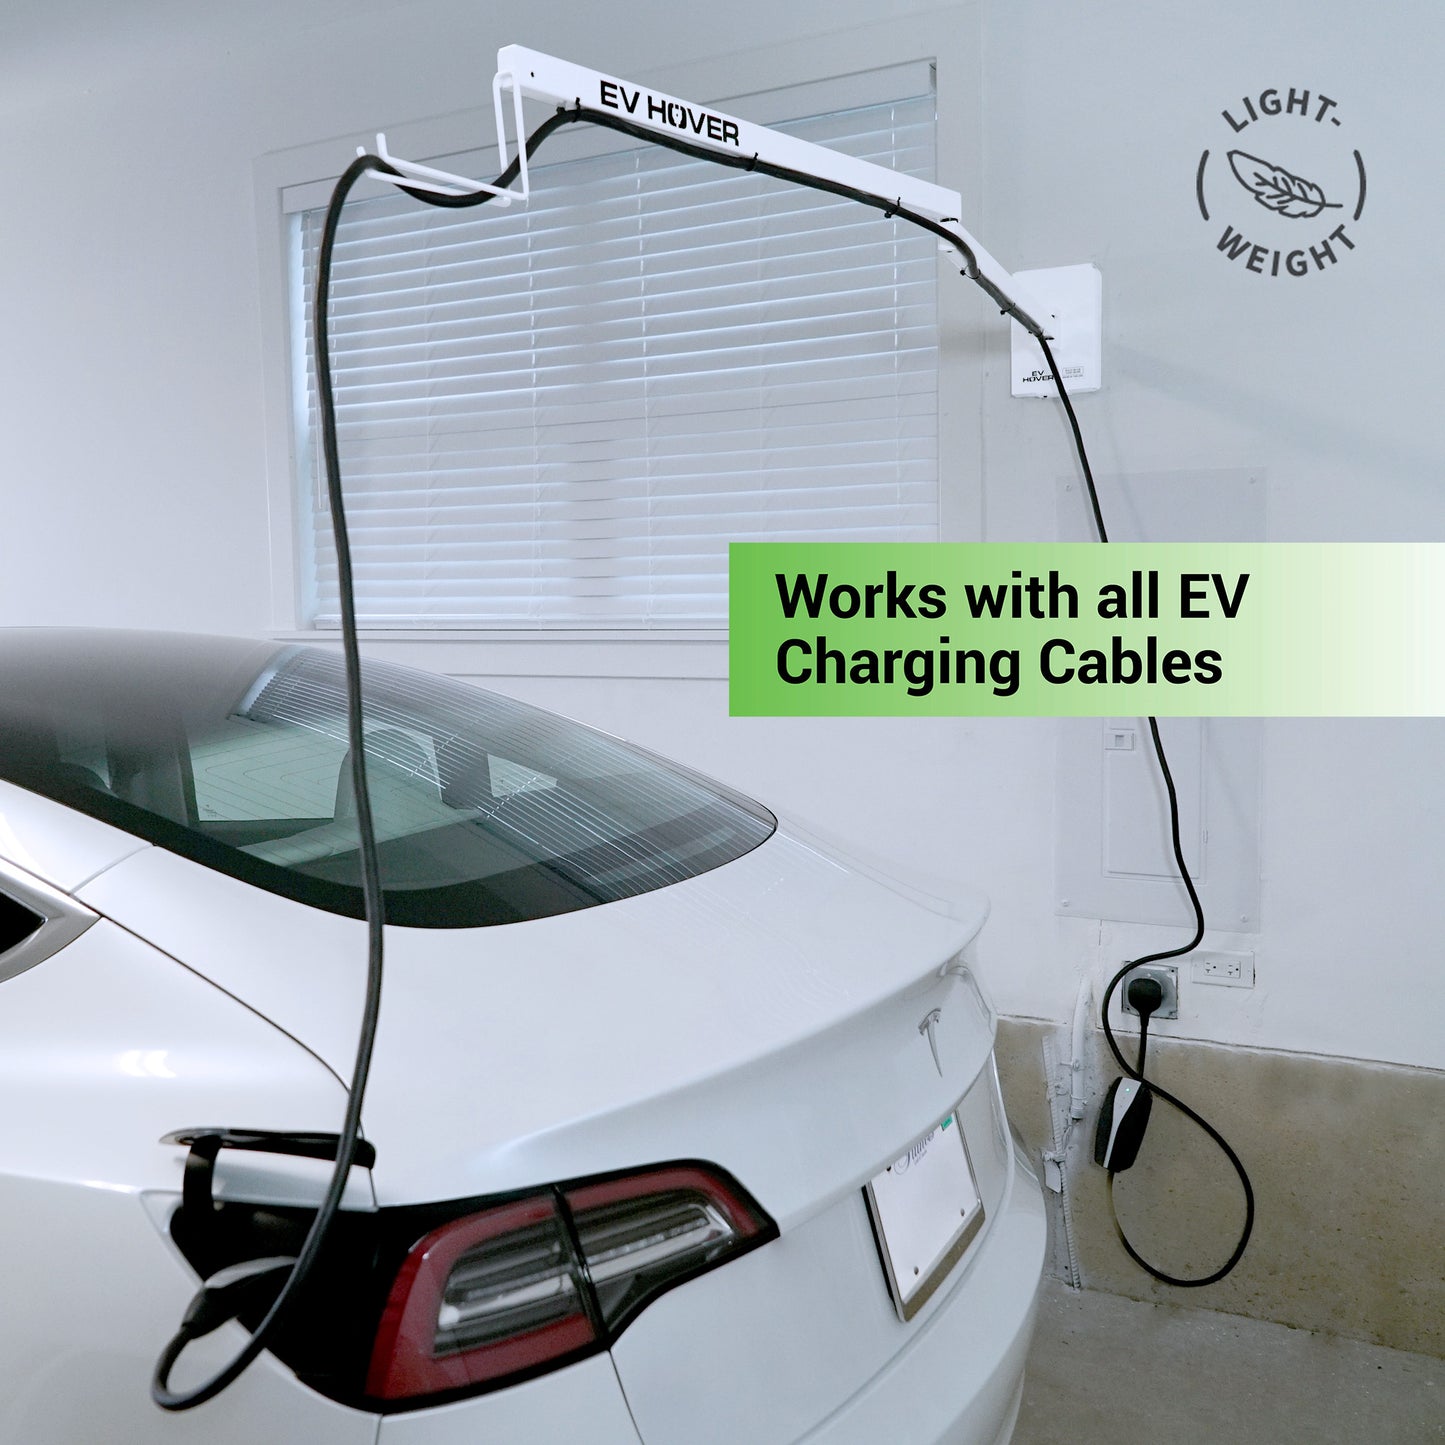
- Ensure your charging cable will reach the proposed vehicle location when threaded along the EV Hover arm.
- Select the desired location for your EV Hover - we recommend installing the wall bracket at least six or seven feet from the floor. Be sure to consider obstructions that may present an issue when extending or swivelling the arm.
- Find a stud using a stud finder and mark the edges of the stud with a pencil
- Center the wall mount bracket [2] on the stud at the correct height, use the level [10] to make sure the bracket is straight and mark the holes.
- Drill pilot holes and install the top Hex Head Lag Bolt [4] first with a 7/16” Ratchet Wrench.
- After securing the first Hex Head Lag Bolt [4], verify the bracket is level using the included level [10].
- Install the next 3 Hex Head Lag Bolt [4]. Be sure all bolts are tightened.
Step 2 - Connect the EV Hover arm [1] to the wall mount bracket [2]
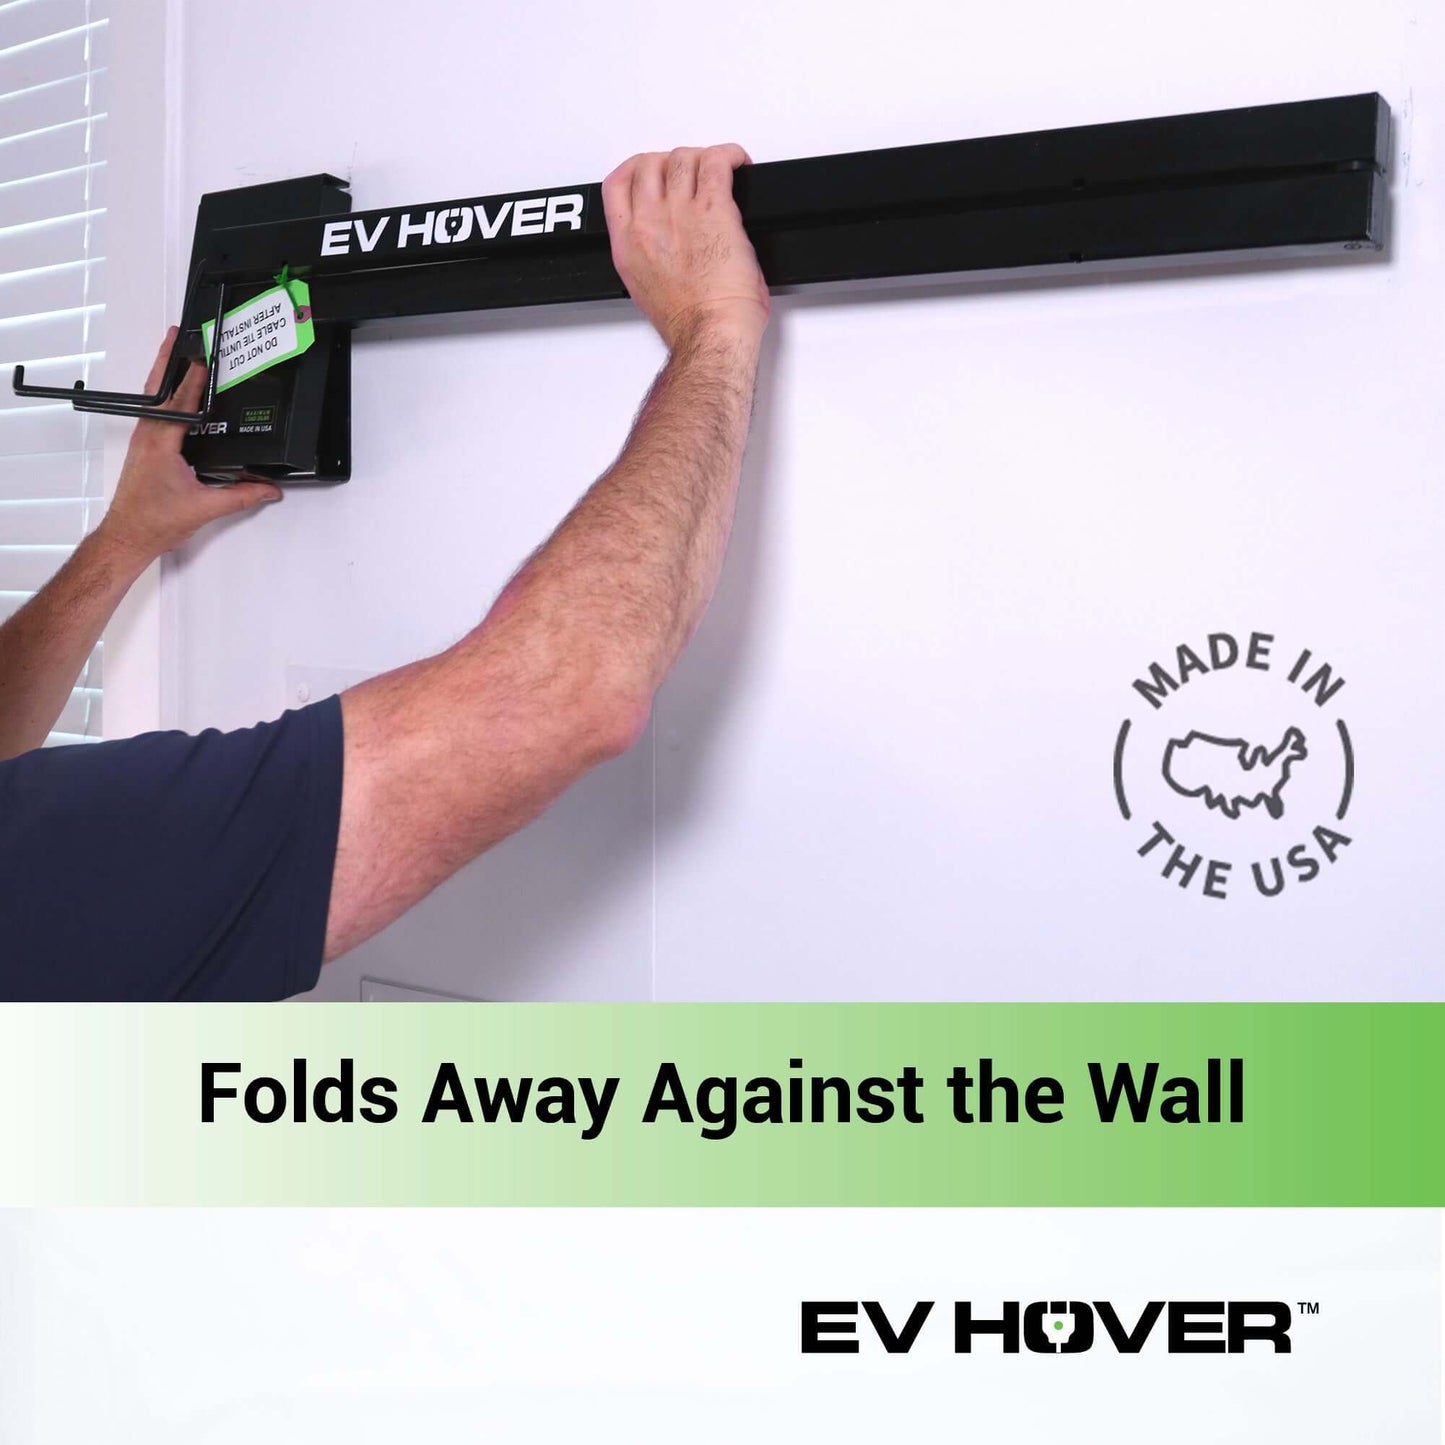
IMPORTANT - Do not remove cable straps until EV Hover is completely installed.
- Hang the EV Hover [1] onto the wall mount bracket [2] by placing the keyholes of the EV Hover onto the Cap Screws [7] that were previously installed on the top of the wall mount bracket [2].
- Insert the Cap Screws [8] through the bottom holes of the EV Hover into the wall mount bracket and tighten.
- Cut through the safety straps with scissors and extend the arms.
Step 3 - Attach the Hook [9]
- Using the 4 Sheet Metal Screws [6], attach the hook [9] to the end of the EV Hover (two on the top and two on the bottom).
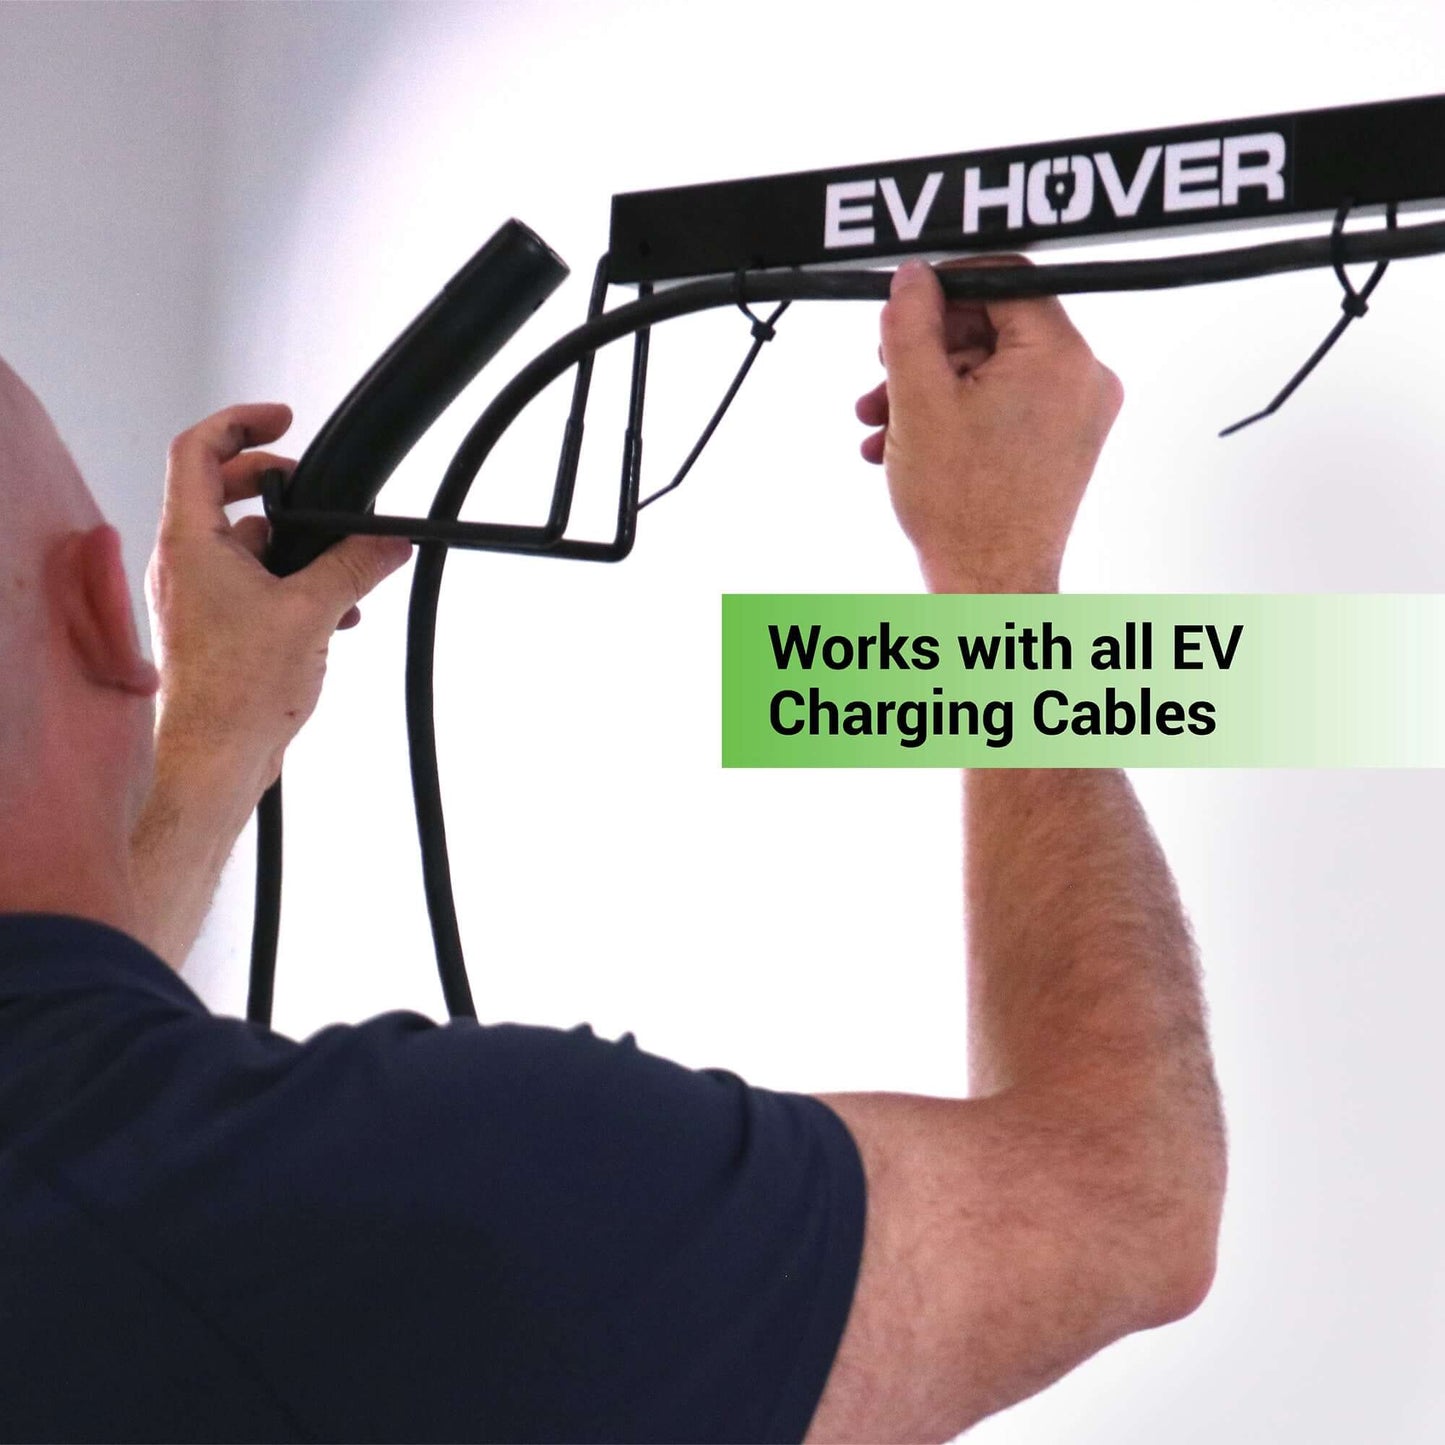
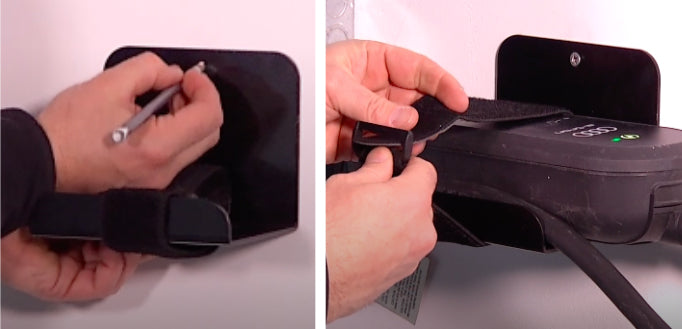
Step 4 - Install the Velcro Straps [3]
Install the velcro straps by wrapping them around the cable and EV Hover, leaving room for movement. Next, adjust your cable to the appropriate length allowing enough length for the end of your charger cable to hang down below the hook to reach your vehicle and then tighten the velcro straps. Adjust the hook as needed by squeezing or pulling apart.
Step 5 (Optional) - Attach Adapter Wall Bracket [11]
- If you need to use the adapter wall bracket [11], find the ideal location based on your cable - your chosen location should be close enough to your electrical outlet.
- Use a stud finder and mark edges of the stud with a pencil.
- Place the adapter wall bracket [8] in the center of the stud and mark the top hole
- Drill pilot holes and insert screws.
- Velcro your charger adapter securely onto the adapter wall bracket [8].
If you've purchased an Extender, click below for installation instructions:
How to Install the ExtenderCongratulations, your EV Hover is fully functional and ready to go!
EV Hover does not require routine maintenance however, periodic inspections should be conducted to ensure that all parts remain in good working order and no damage exists. Do not attempt to open, disassemble, repair, tamper with, or modify any components of the products – the products are not user serviceable. Contact EV Hover for any repairs.


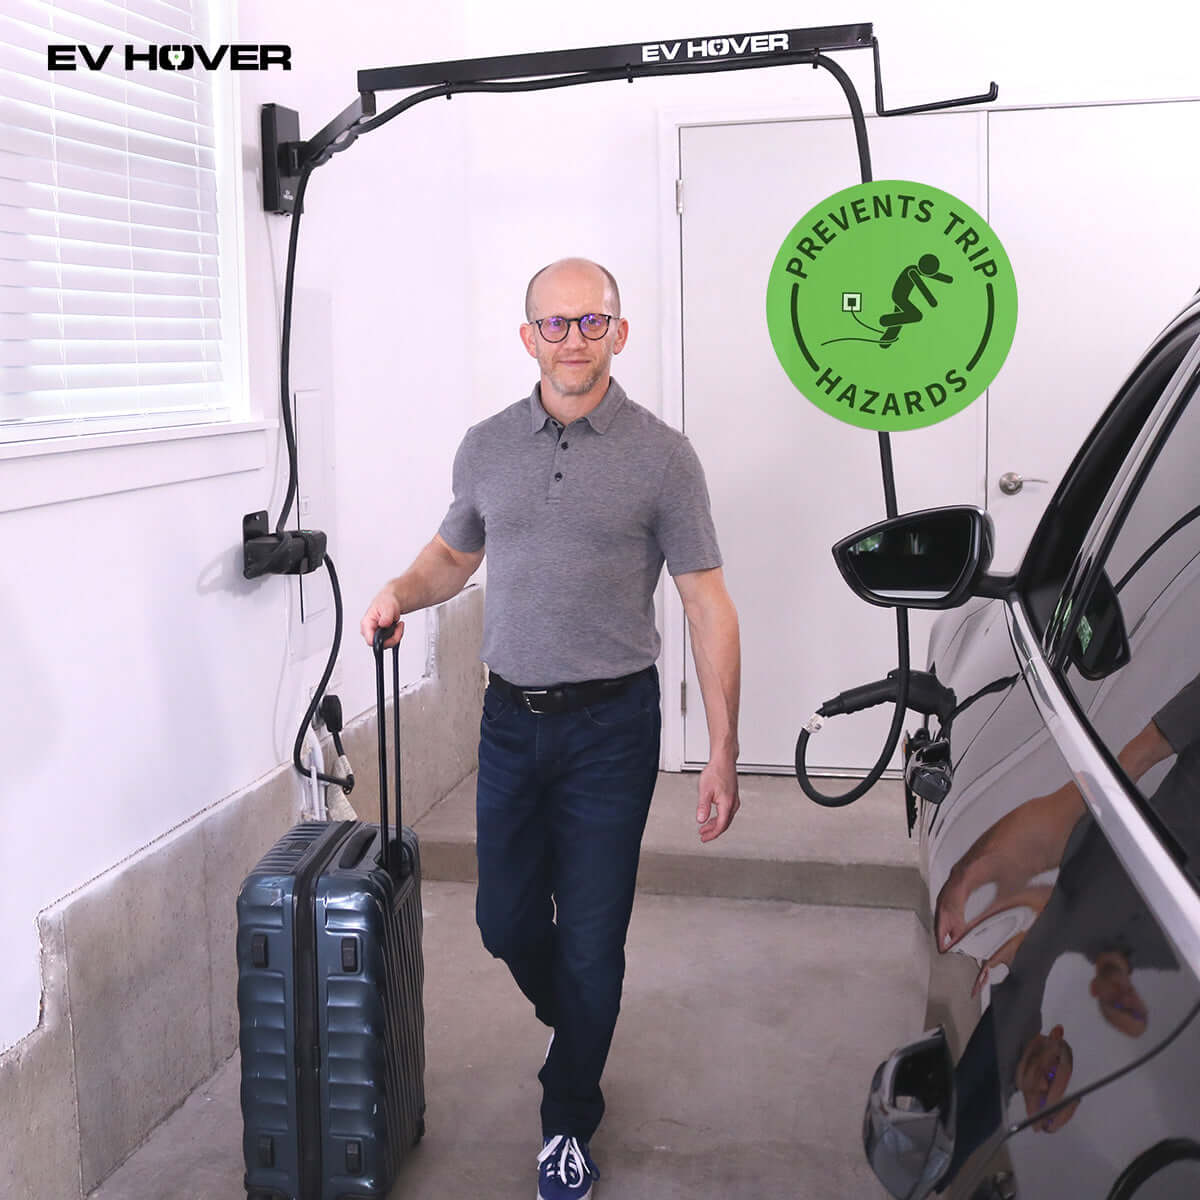
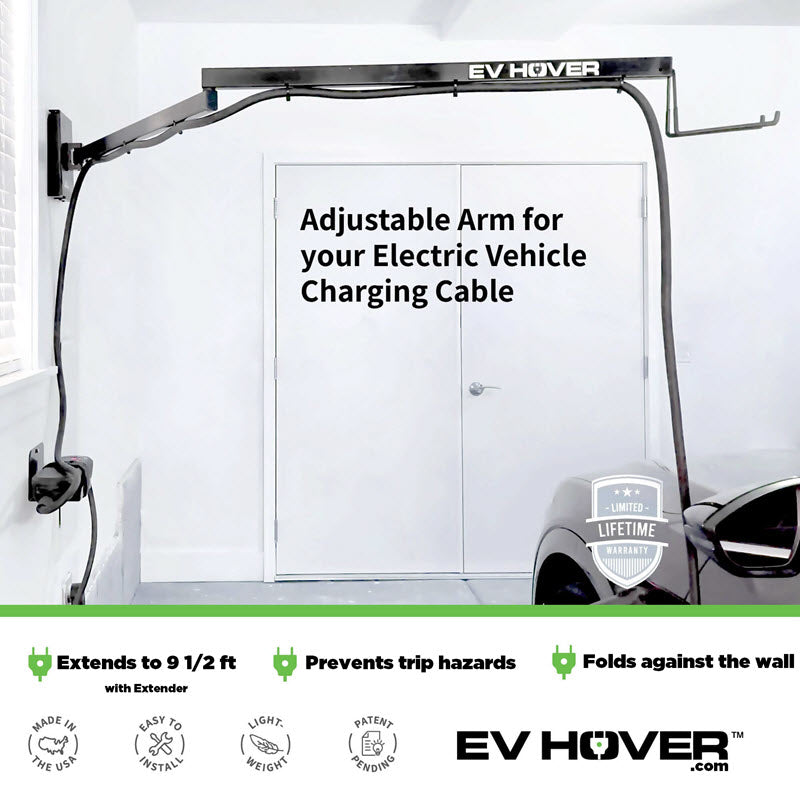
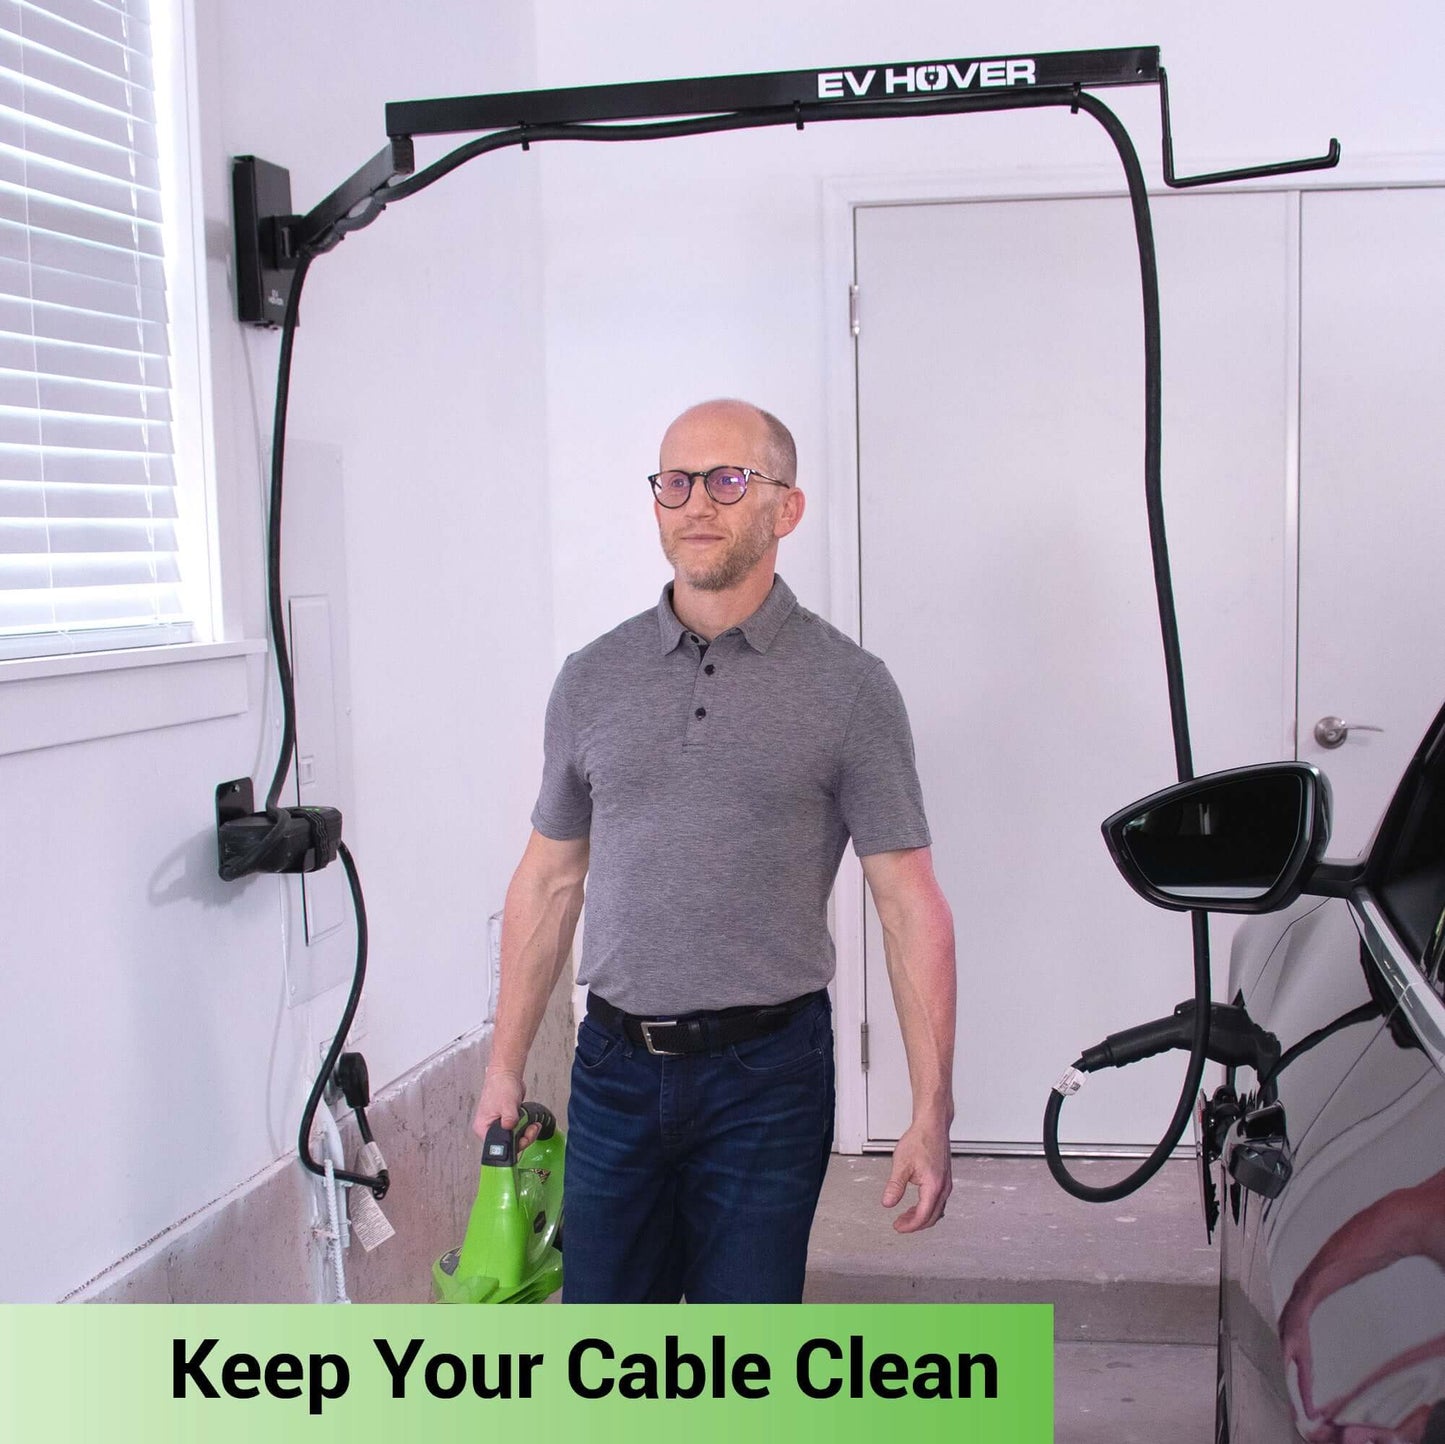
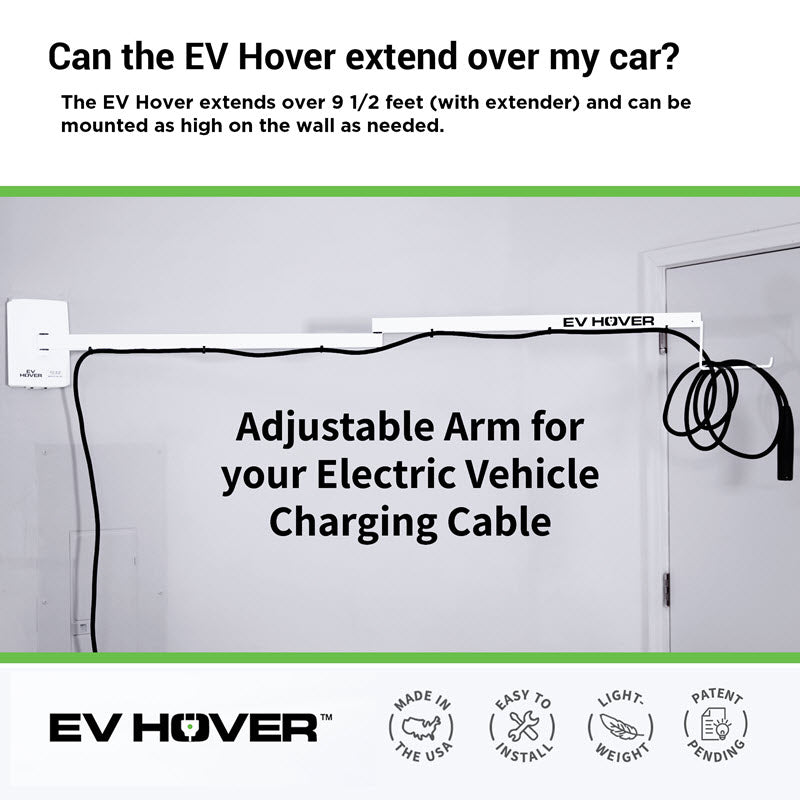
EV Hover
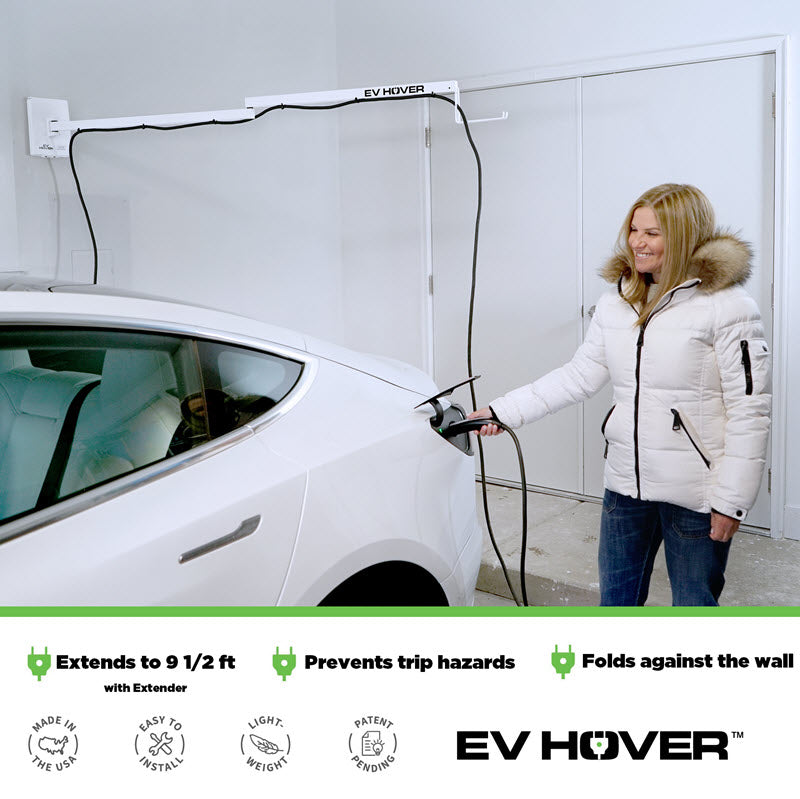
EV Hover - Electric Vehicle Cable Management System (Up to 9 1/2 ft with the extender - sold separately)
Share