How to Install
Before You Start
To install EV Hover be sure you can:
• Locate a stud or other suitable support in the wall. Know the location of electrical wires in walls
• Drill holes for and install screws
• Lift 15 pounds above your head.
Video

Important Safety Instructions
-
Make sure that the materials used and the installation procedures follow local building codes and safety standards. The information provided in this manual in no way exempts the user of responsibility to follow all applicable codes or safety standards.
This document provides instructions for EV Hover and should not be used for any other product.
Before installation or use of this product, review this manual carefully and consult with a licensed contractor, licensed electrician, or trained installation expert to make sure of compliance with local building codes and safety standards.
-
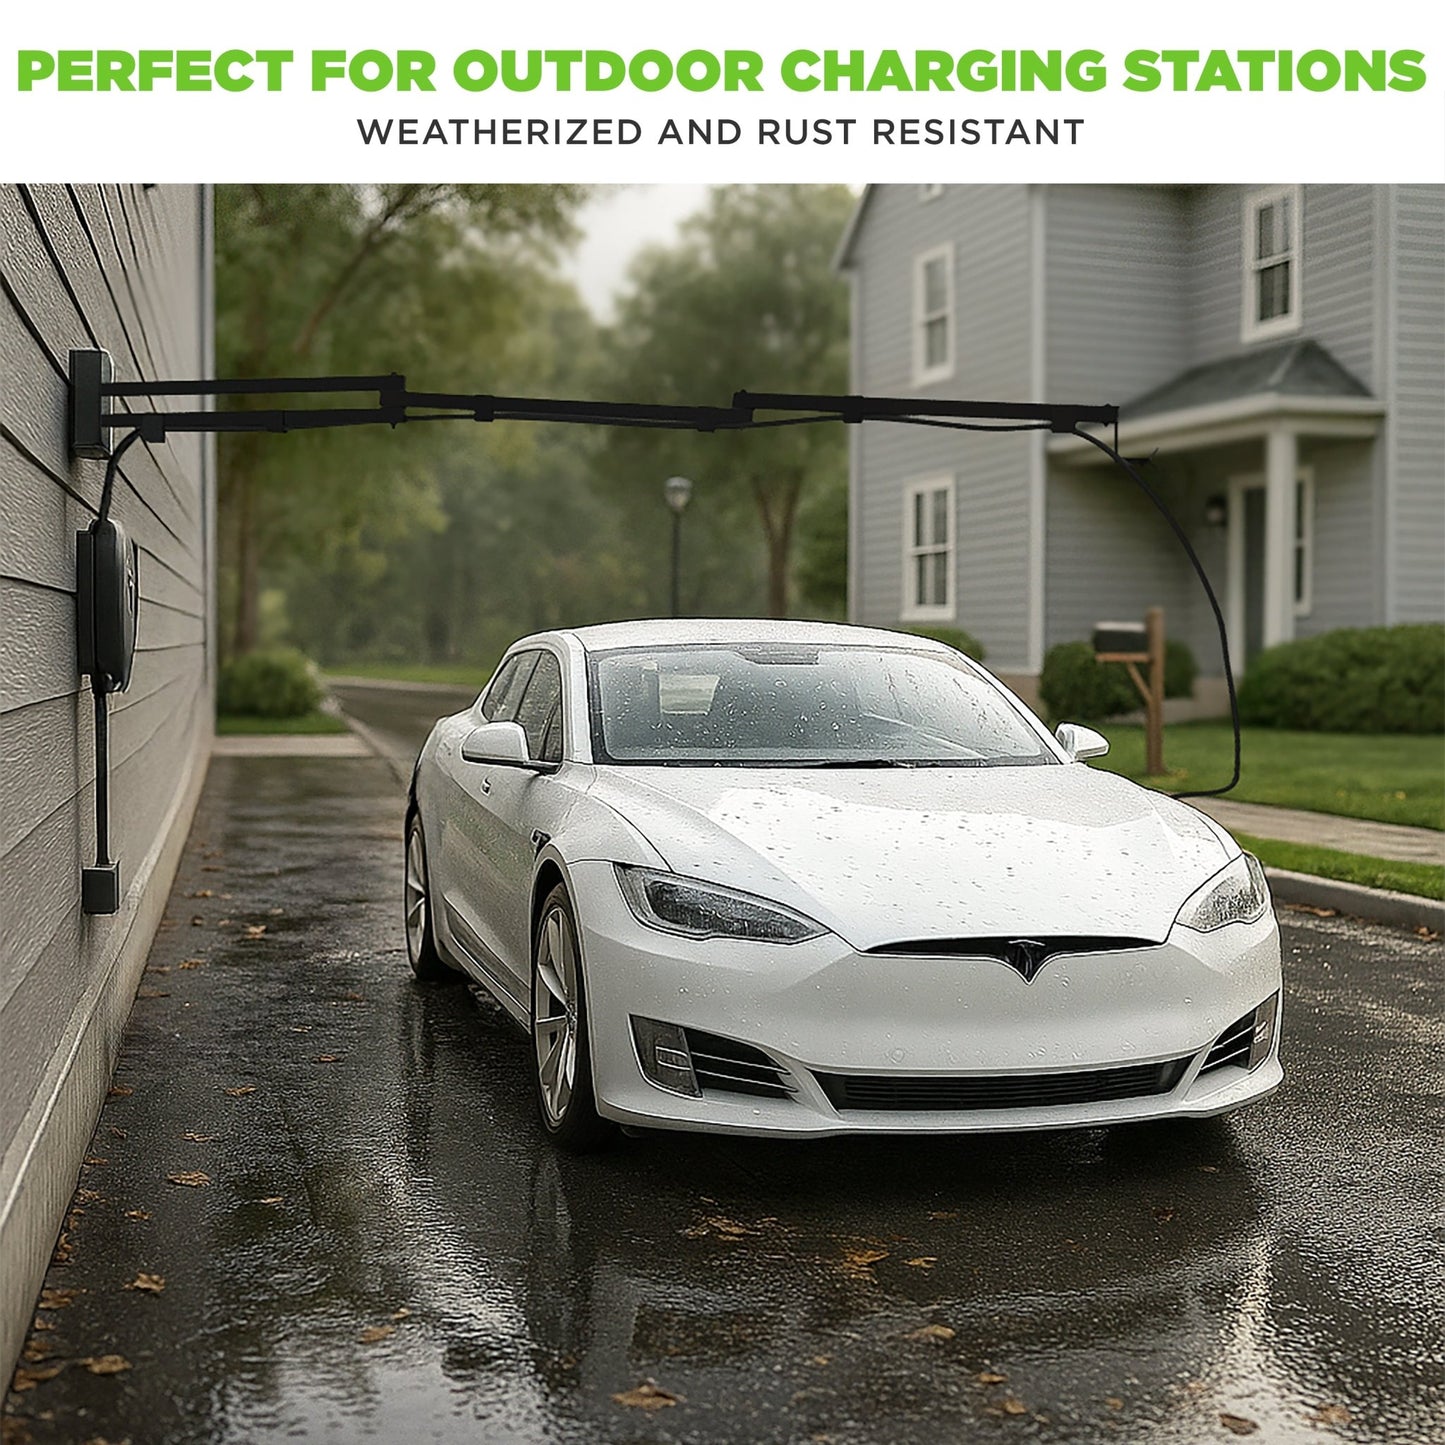
Do not use hoses or power washers on the frame components as this may remove the powder coating..
Do not swing from or add any unexpected load to EV Hover. Only use in conjunction with a certified electric vehicle charge cable. To prevent damage to EV Hover and avoid trapping fingers, do not cut cable straps until after installation.
To prevent serious injury or death, make sure all screws are tight and the device is secured to the wall.
To prevent serious injury or death, make sure that the electric power socket is grounded.
-
To reduce the risk of personal injury, do not bend the arms or brackets when installing or cleaning EV Hover. Do not insert foreign objects into the EV Hover mechanisms.
There are no user-serviceable components in the EV Hover. Servicing and repairs are only to be carried out by EV Hover personnel. Maximum load 10lbs.
Warning
-
Finger Trap Hazard
Be aware of a finger trap hazard at all times. Be aware that the fingers of the operator or installer can get trapped as the arm closes and extends.
-
Strangulation Hazard
Children can strangle themselves on your EV charging cable
- Children can climb furniture to reach the EV Hover
- Shorten cables to prevent reach and keep all cables out of the reach of children
- Always wrap the cables around the Hook and keep them out of reach of children
- Keep all small parts, components and packaging away from children as they pose a potential choking hazard which may result in serious injury or death. Please reference all warning tags and labels in the instructions.
-
Risk of Electric Shock
Basic precautions should always be followed when using electrical products in conjunction with EV Hover.
- This device should be supervised when used around children
- Do not use this product if your EV cable is frayed, has broken insulation, or any other signs of damage
- Do not use this product with an EV cable that is broken, cracked, open, or
shows any other indication of damage
- The electrical socket you will connect your charging cable to must be grounded
Tools You Will Need
-
- Power Drill
- Scissors
- Pencil
-
- Stud Finder
- 7/16” & 9/16” Ratchet Wrenches
- may need step stool
Check EV Hover Parts Before Commencing
Carefully unpack the EV Hover box and confirm you have received all the parts and tools, and they have not been damaged during transit. Contact EV Hover Customer Support if you find anything damaged from shipment, before installation.
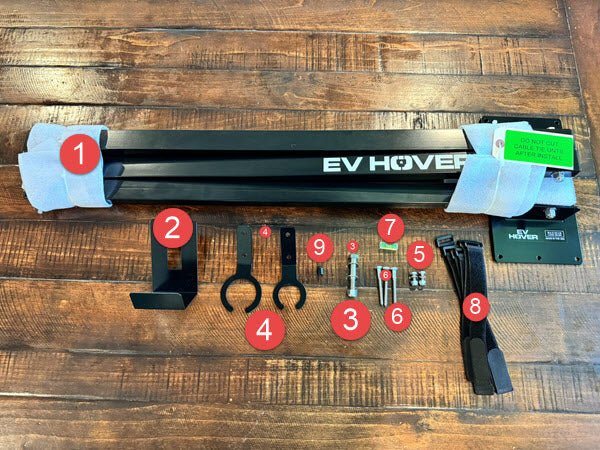
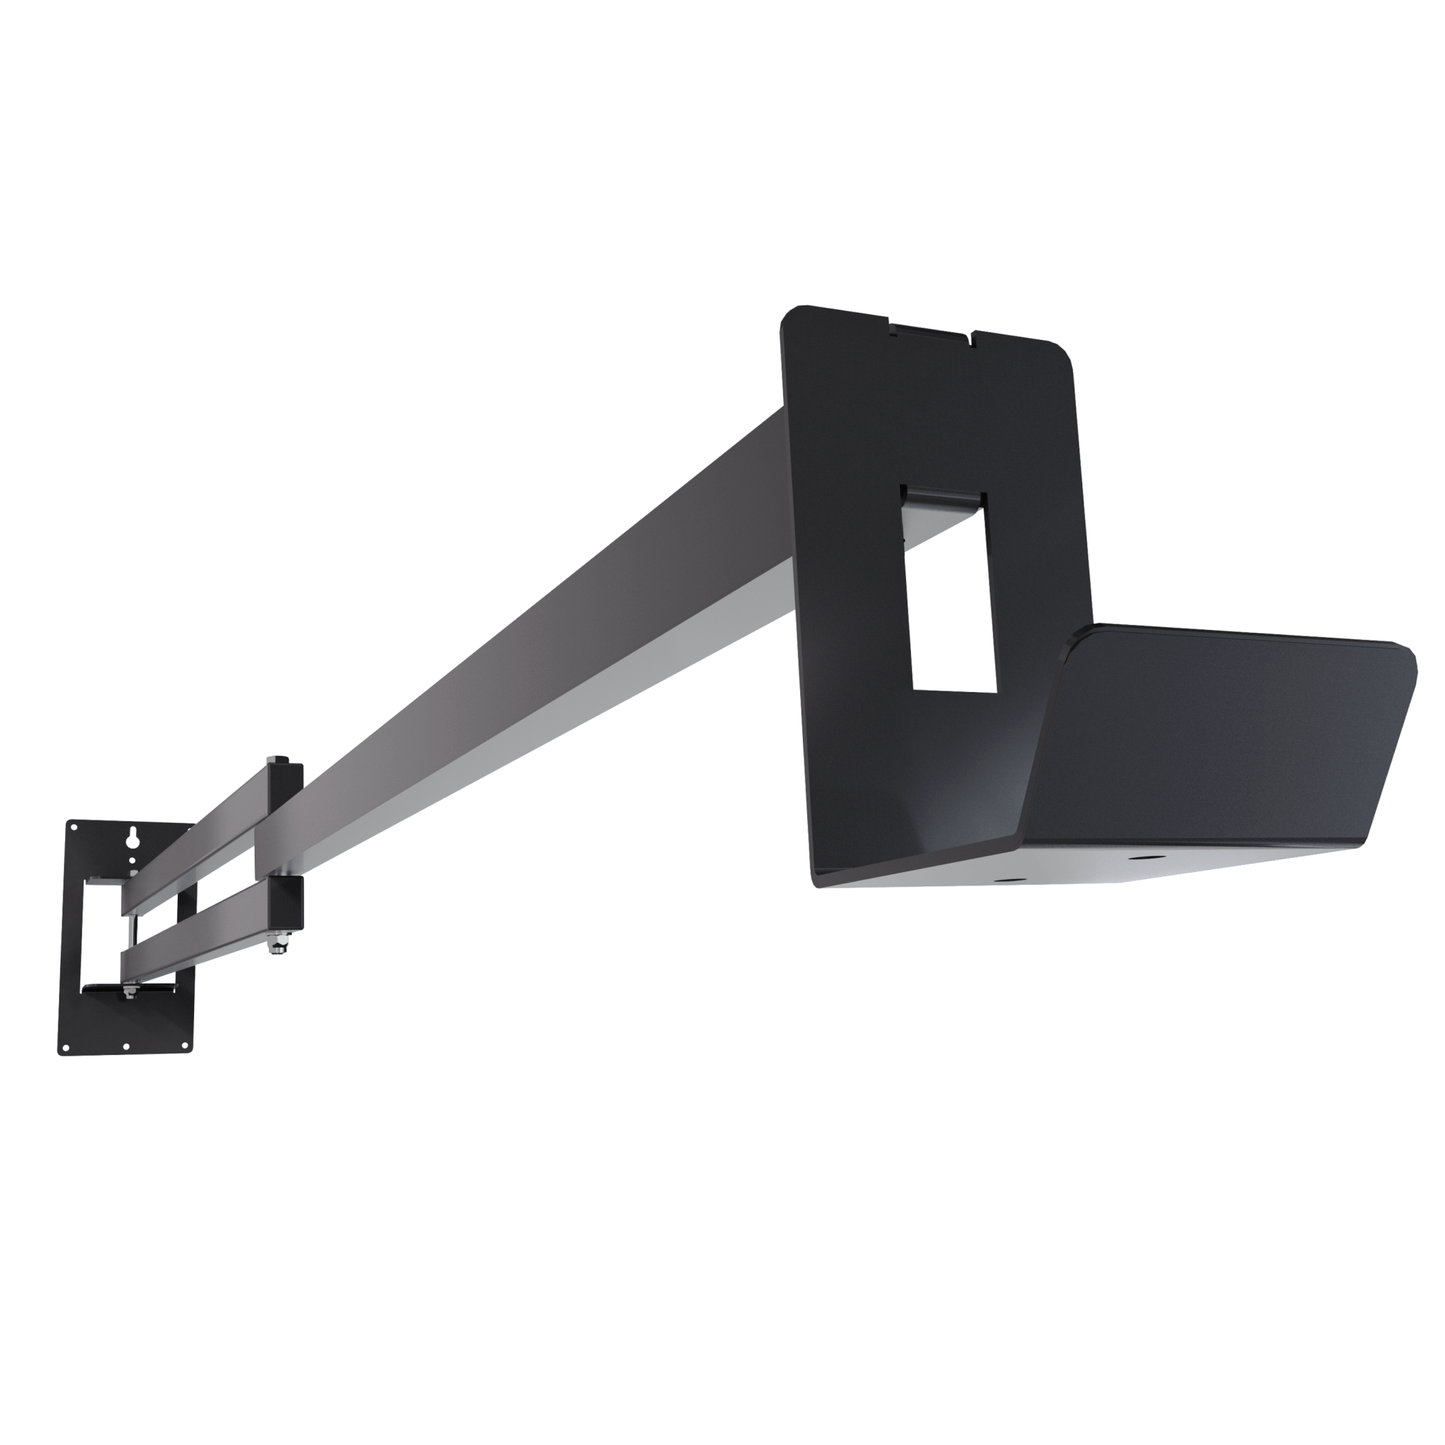
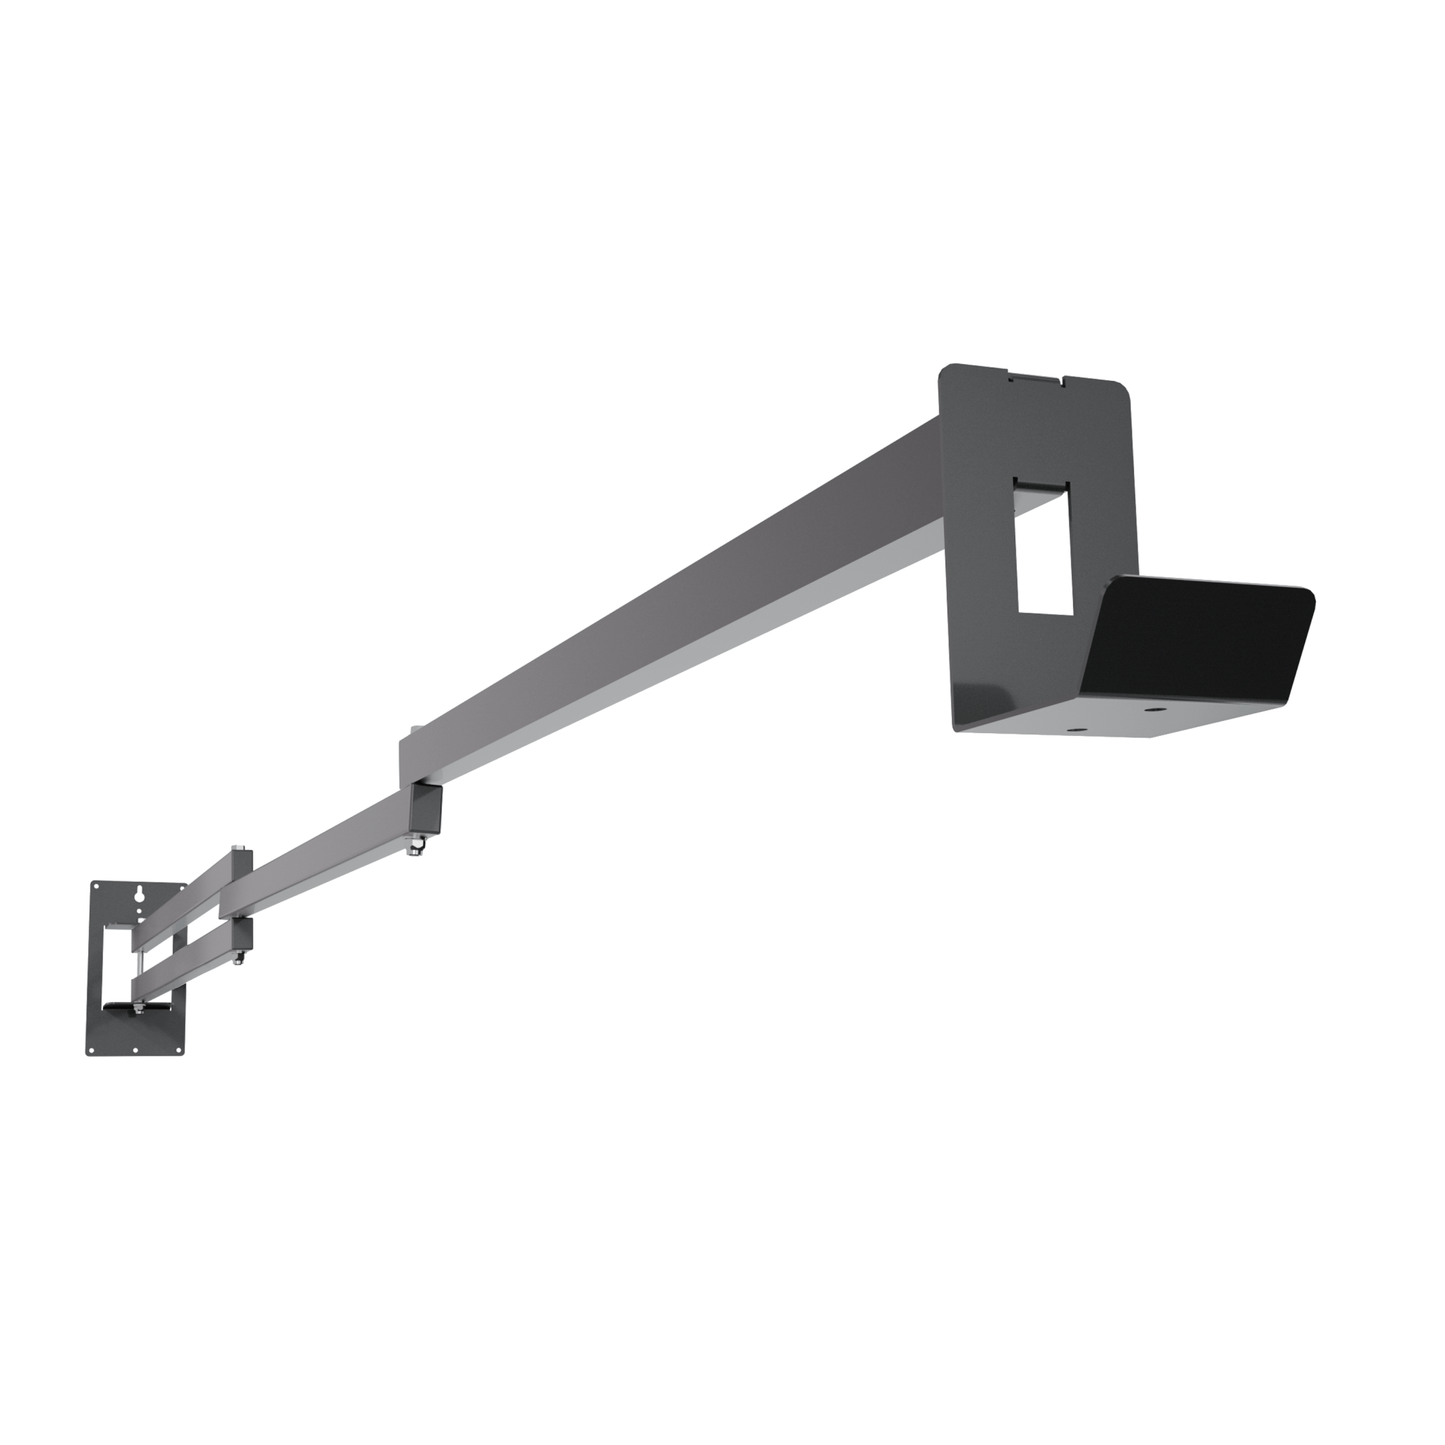
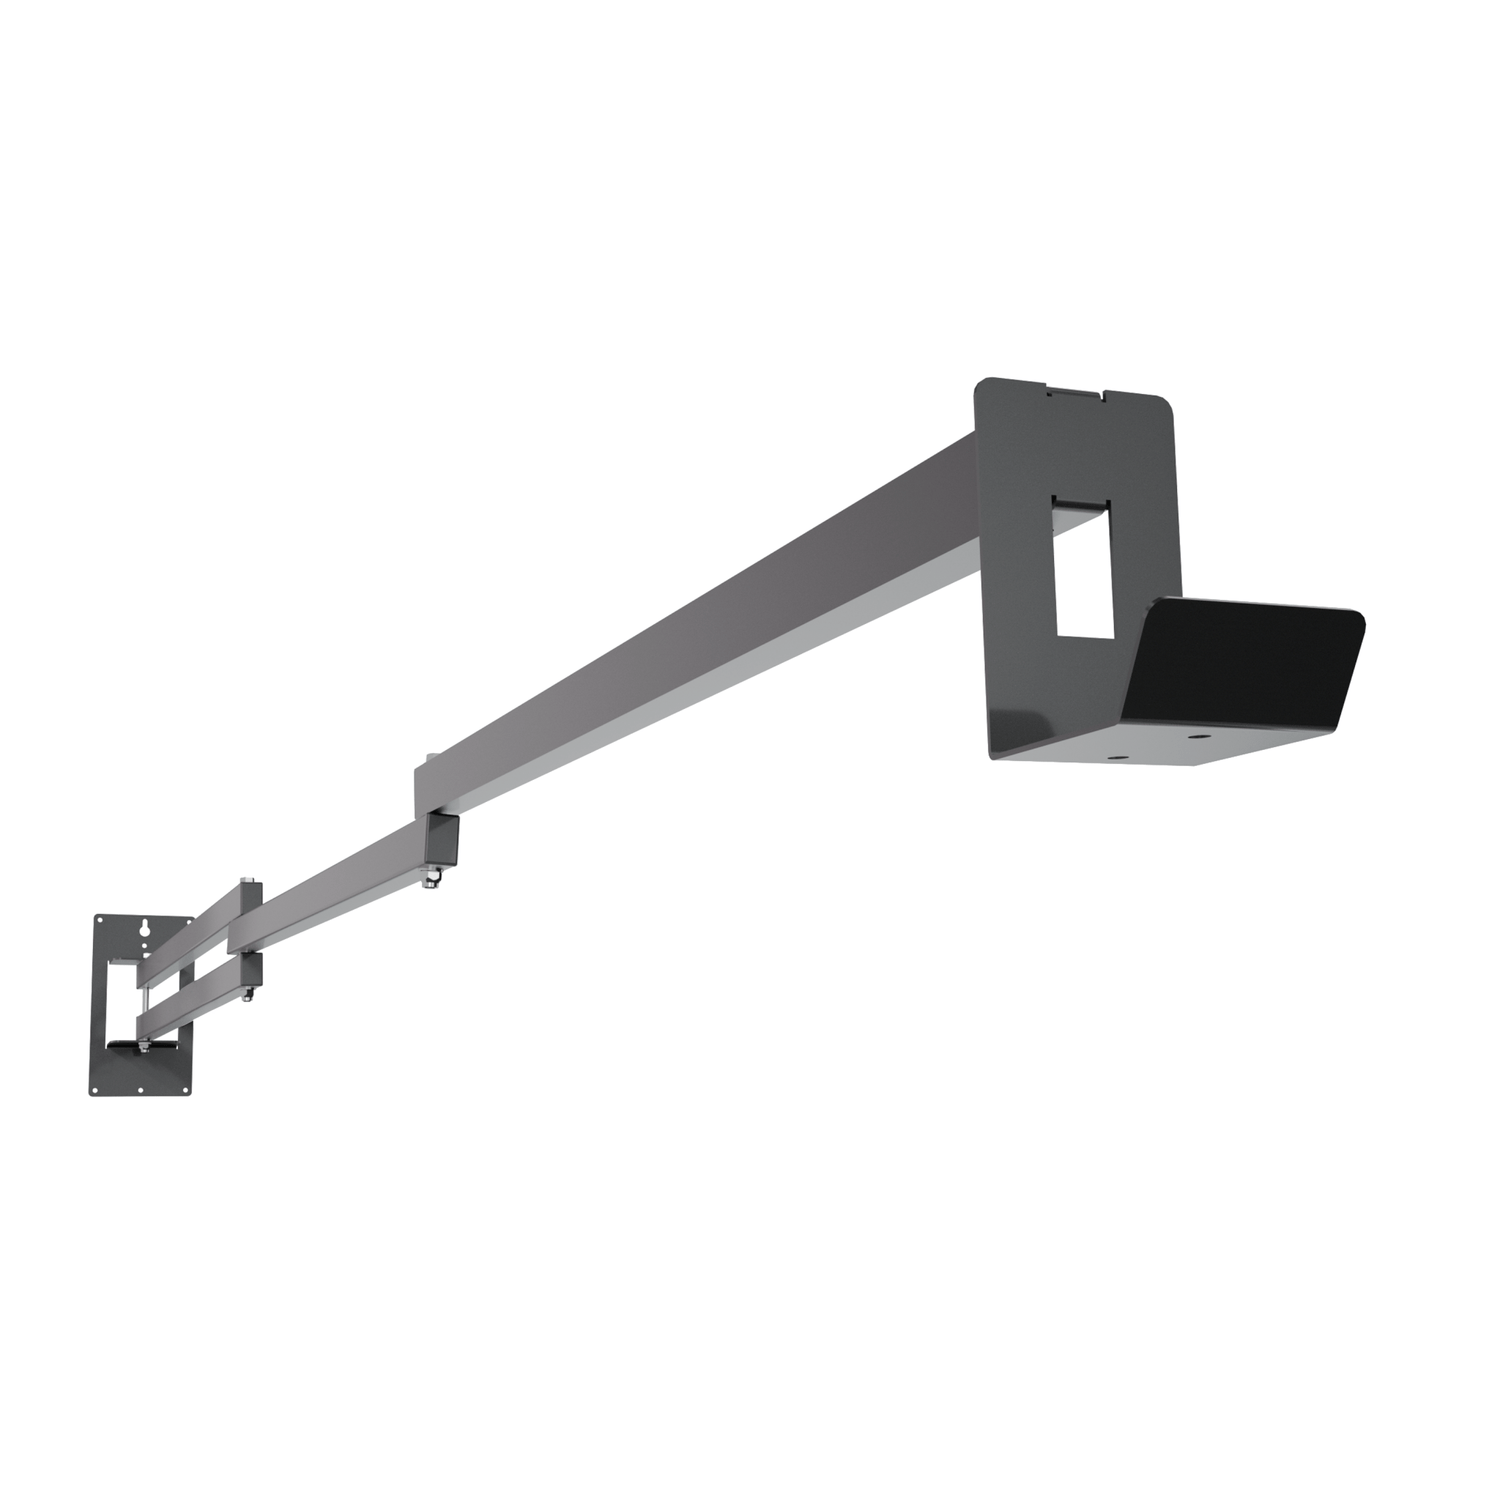
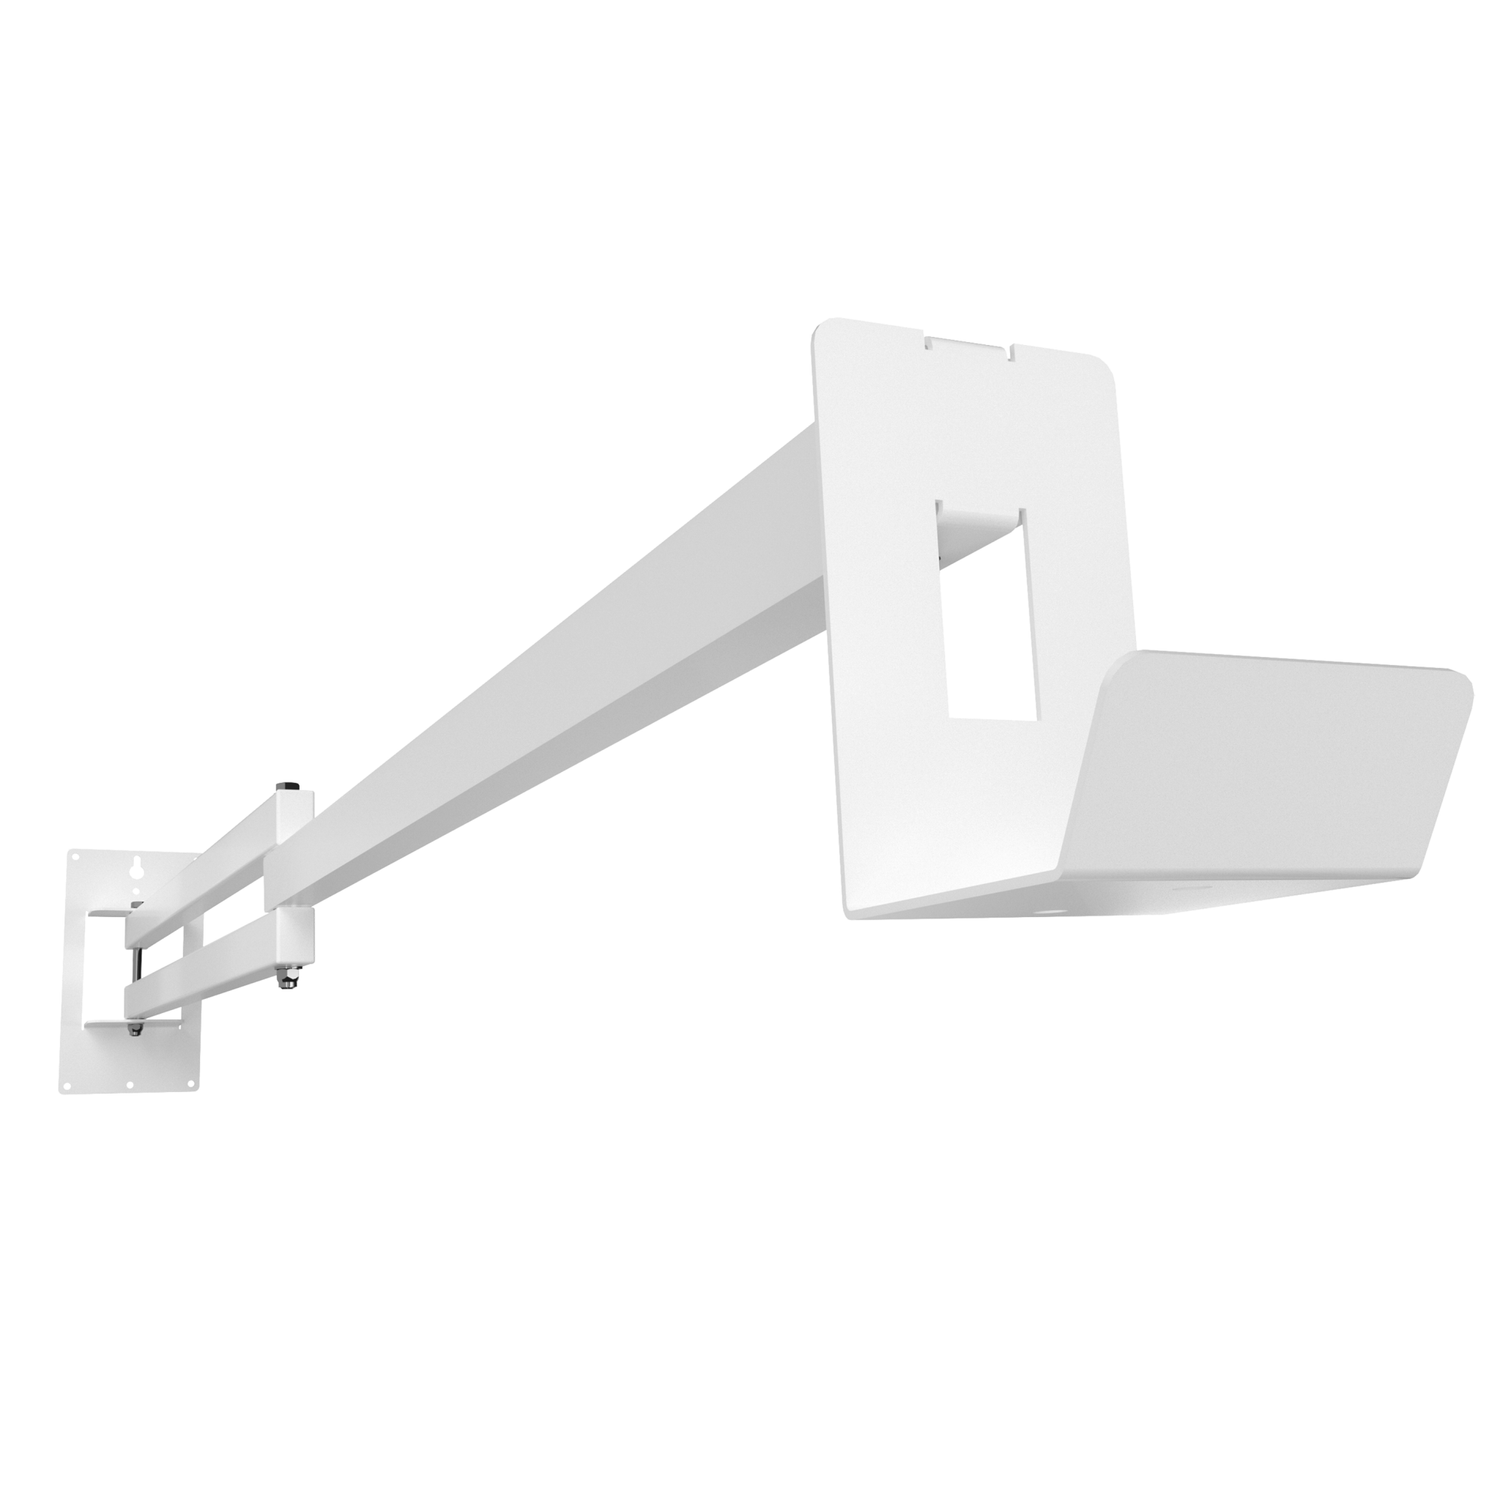
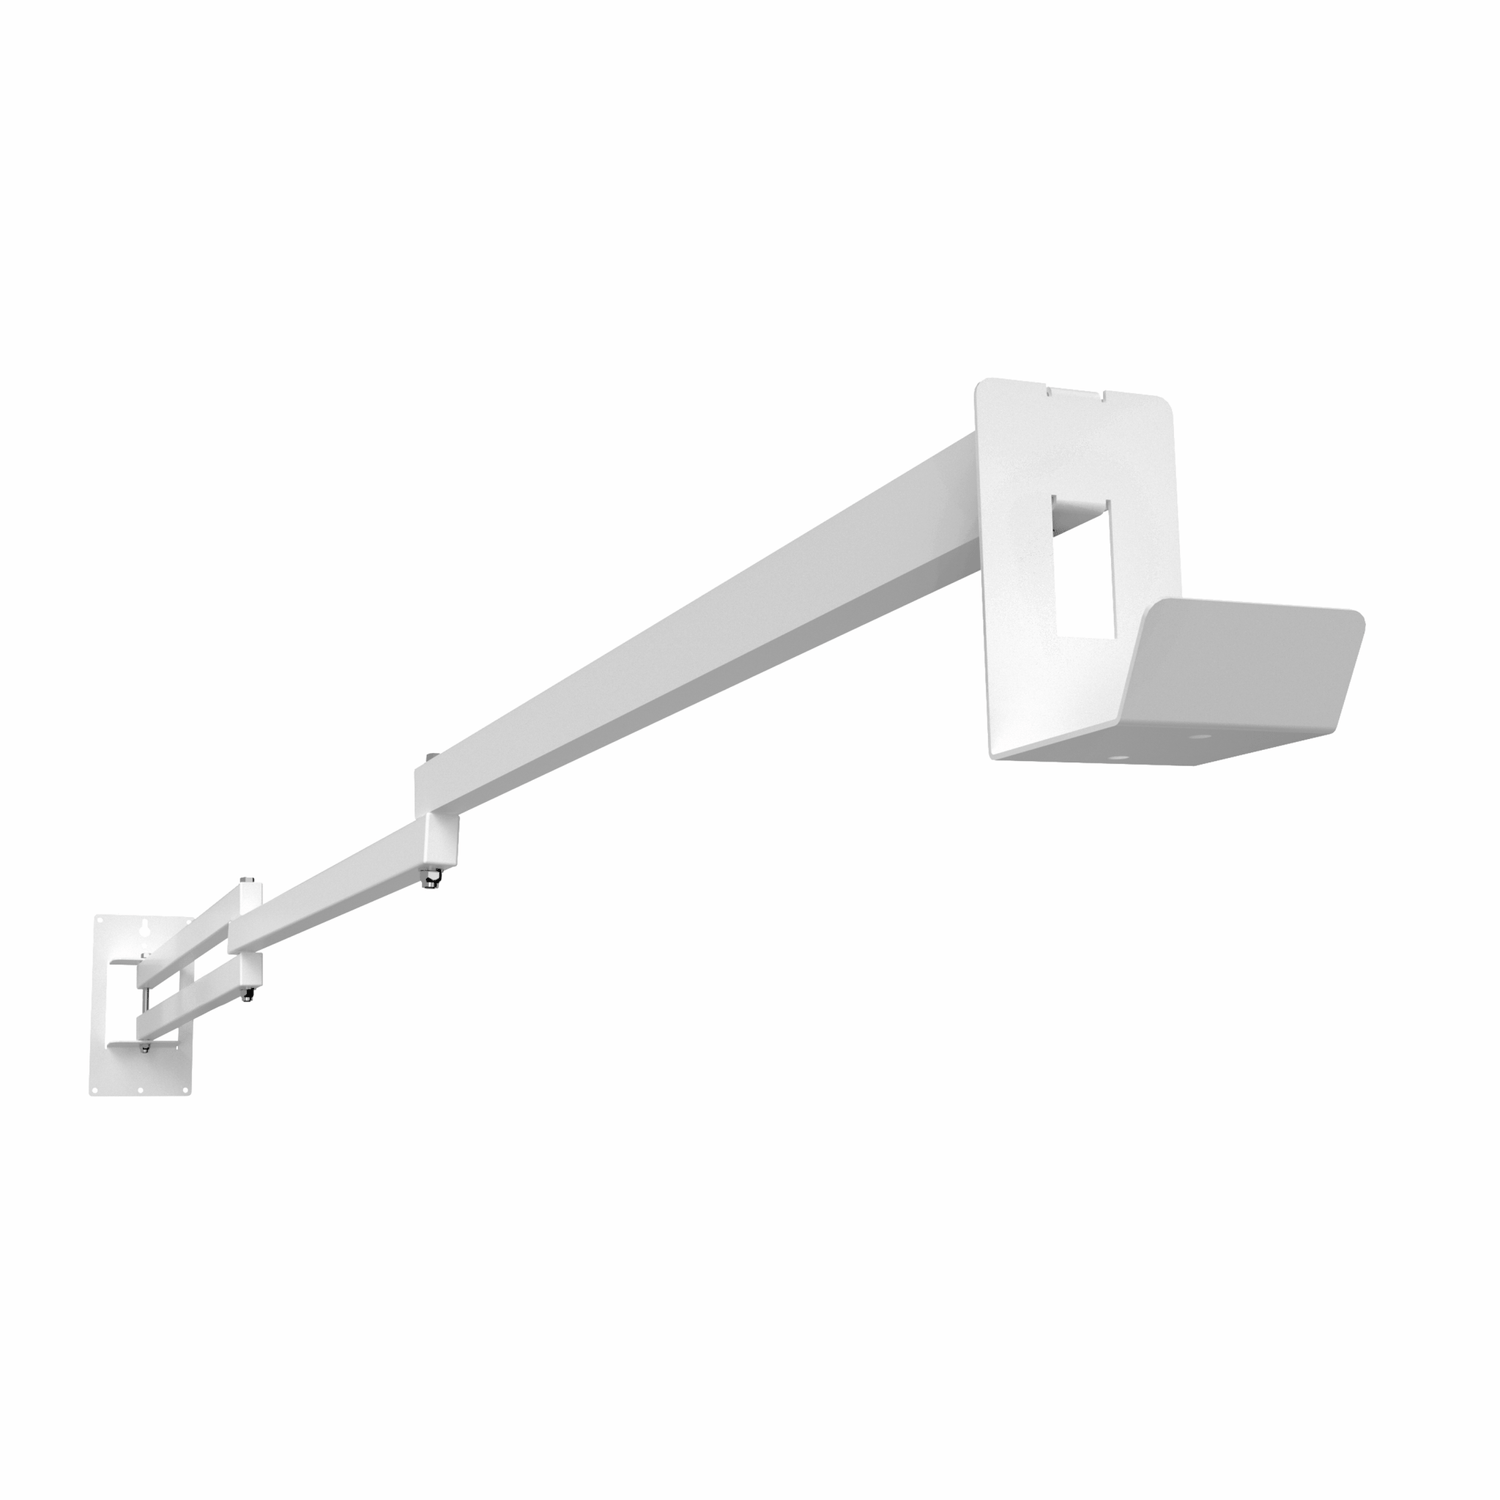
EV Hover Parts
[1] EV Hover
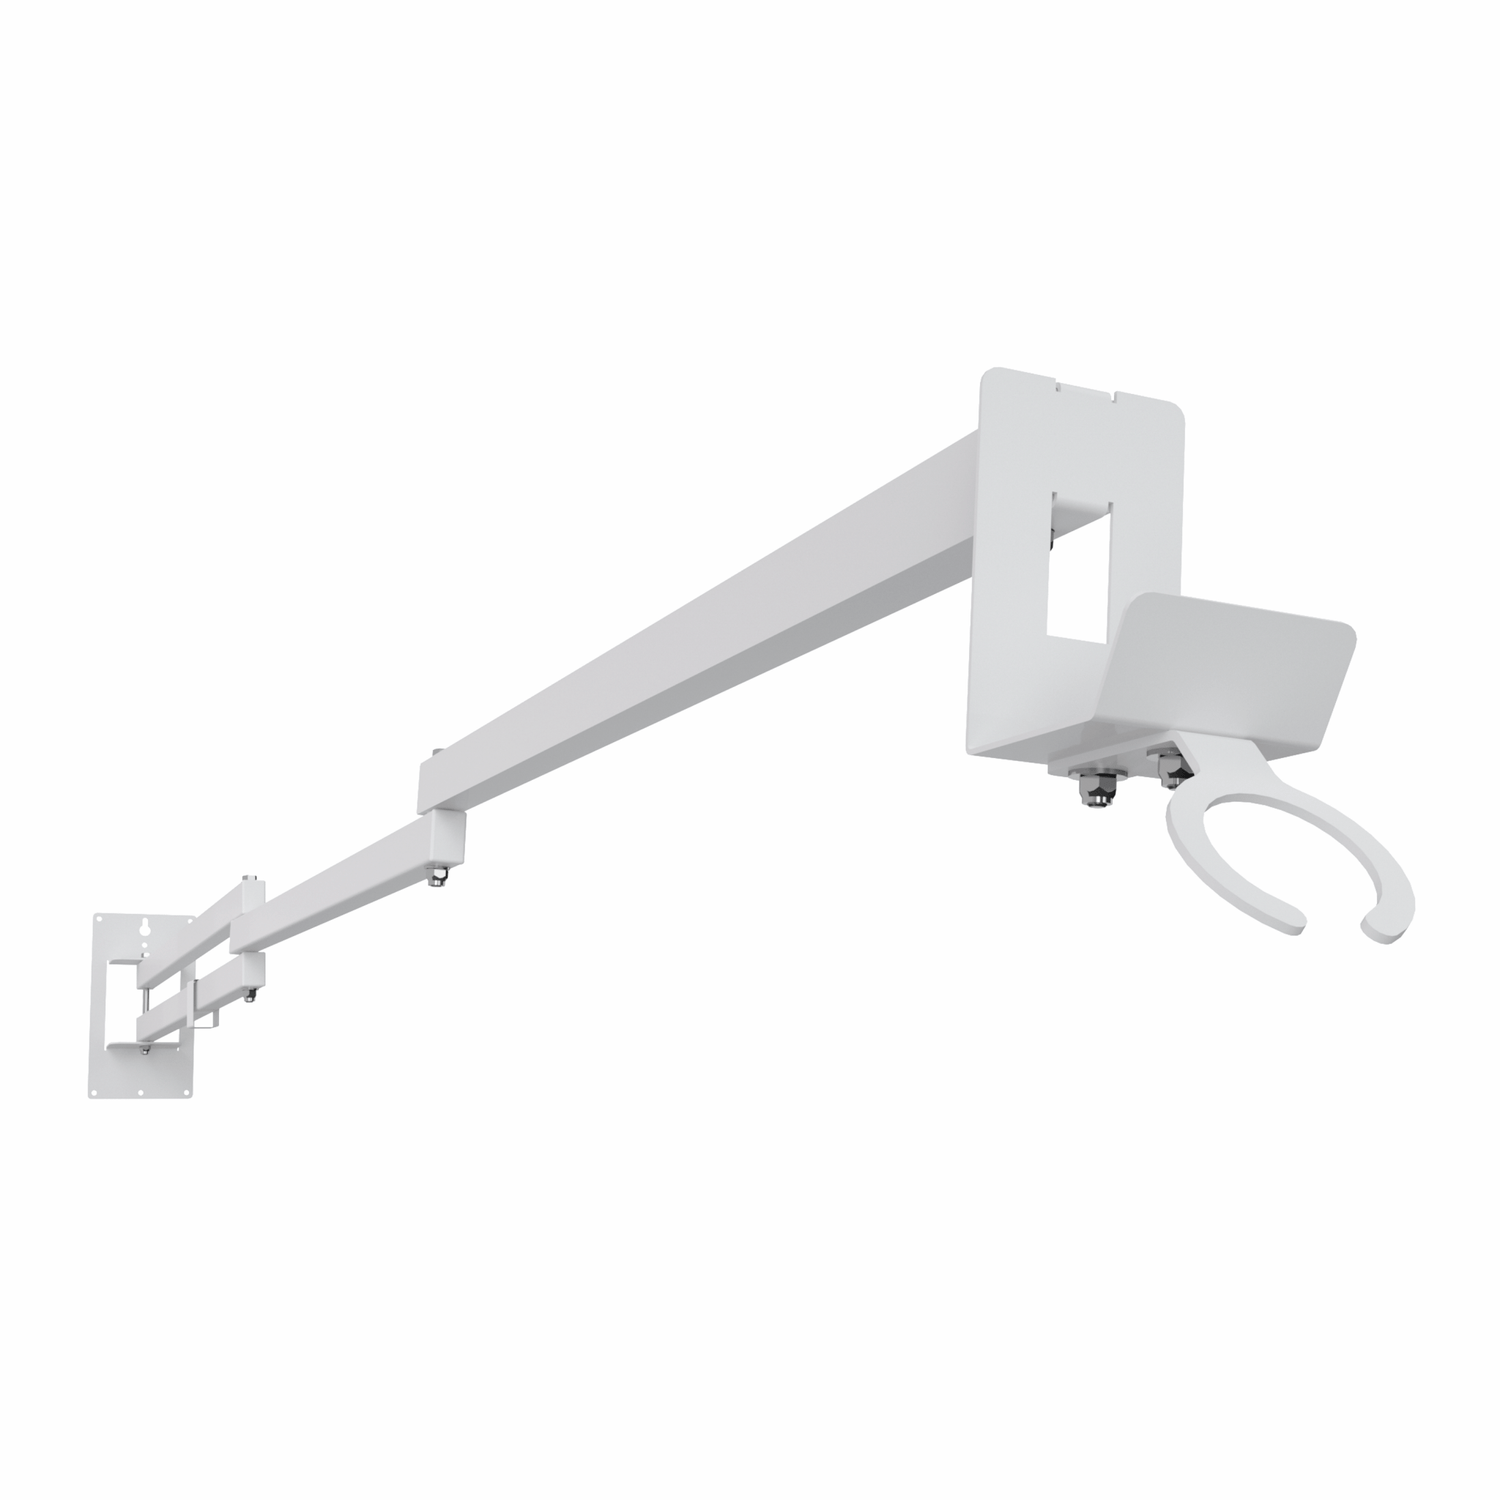
[2] Hook
[3] ⅜”-16 x 2 ½” Stainless Steel Hex Bolt
2 - ⅜” ID x ¾” OD Stainless Steel Washers
⅜”-16 Stainless Steel Lock Nut
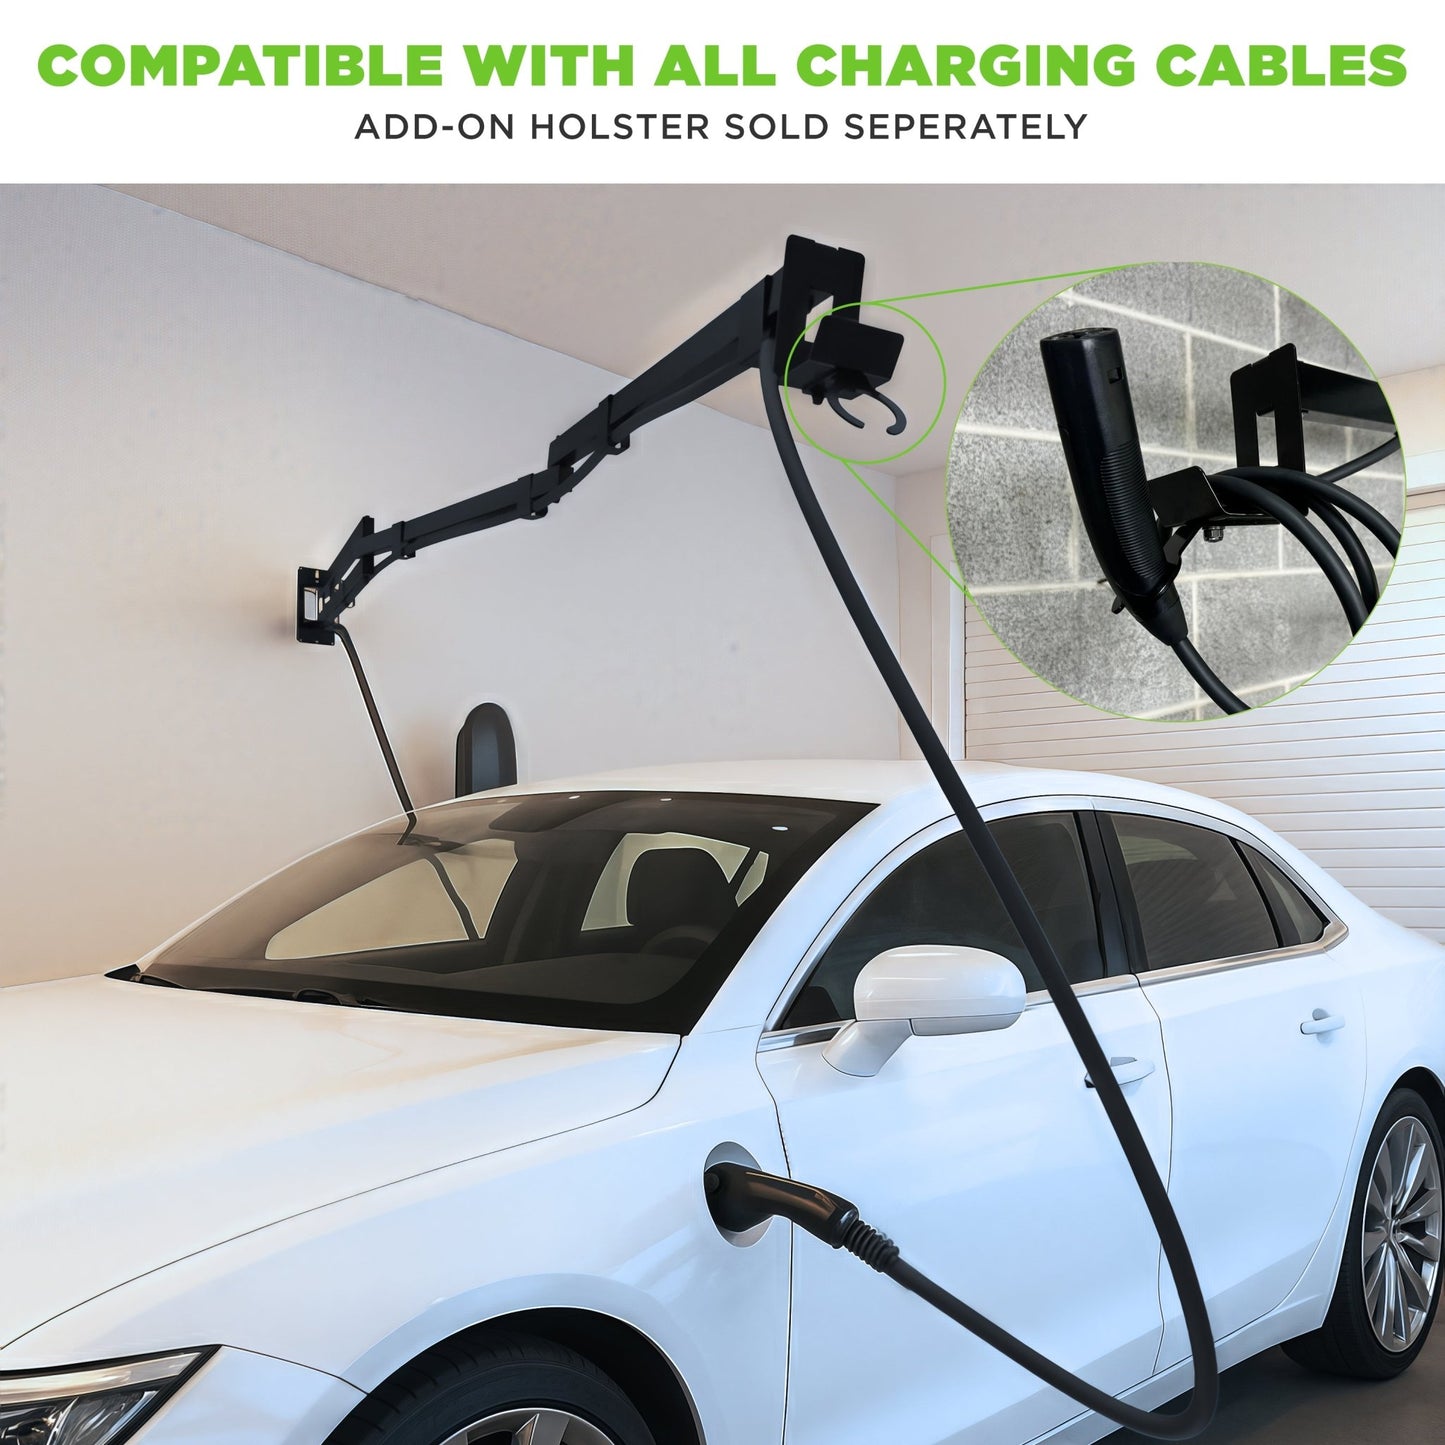
[4] J1772 Connector Holster (SOLD SEPARATELY)
or Tesla Connector Holster (SOLD SEPARATELY)
[5] 2 - ¼”-20 x ⅝” Stainless Steel Hex Bolts
2 - ¼” ID x ½” OD Stainless Steel Washers
2 - ¼”-20 Stainless Steel Lock Nuts
[6] 3 - ¼” x 2 ½” Stainless Steel 7/16” Hex Head Lag Screws
[8] 4 Velcro Straps (6 ¼’ unit) or 6 w/the extender
[9] Screw Cap
Tools Provided
[7] Level
If you've purchased an Extender, click below for installation instructions:
How to Install the Extender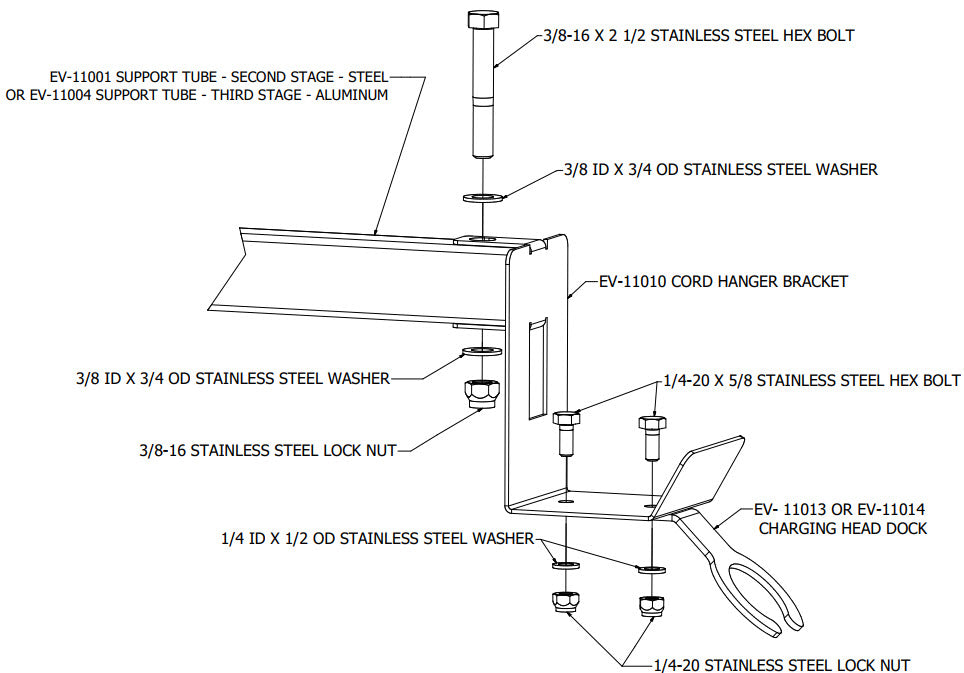
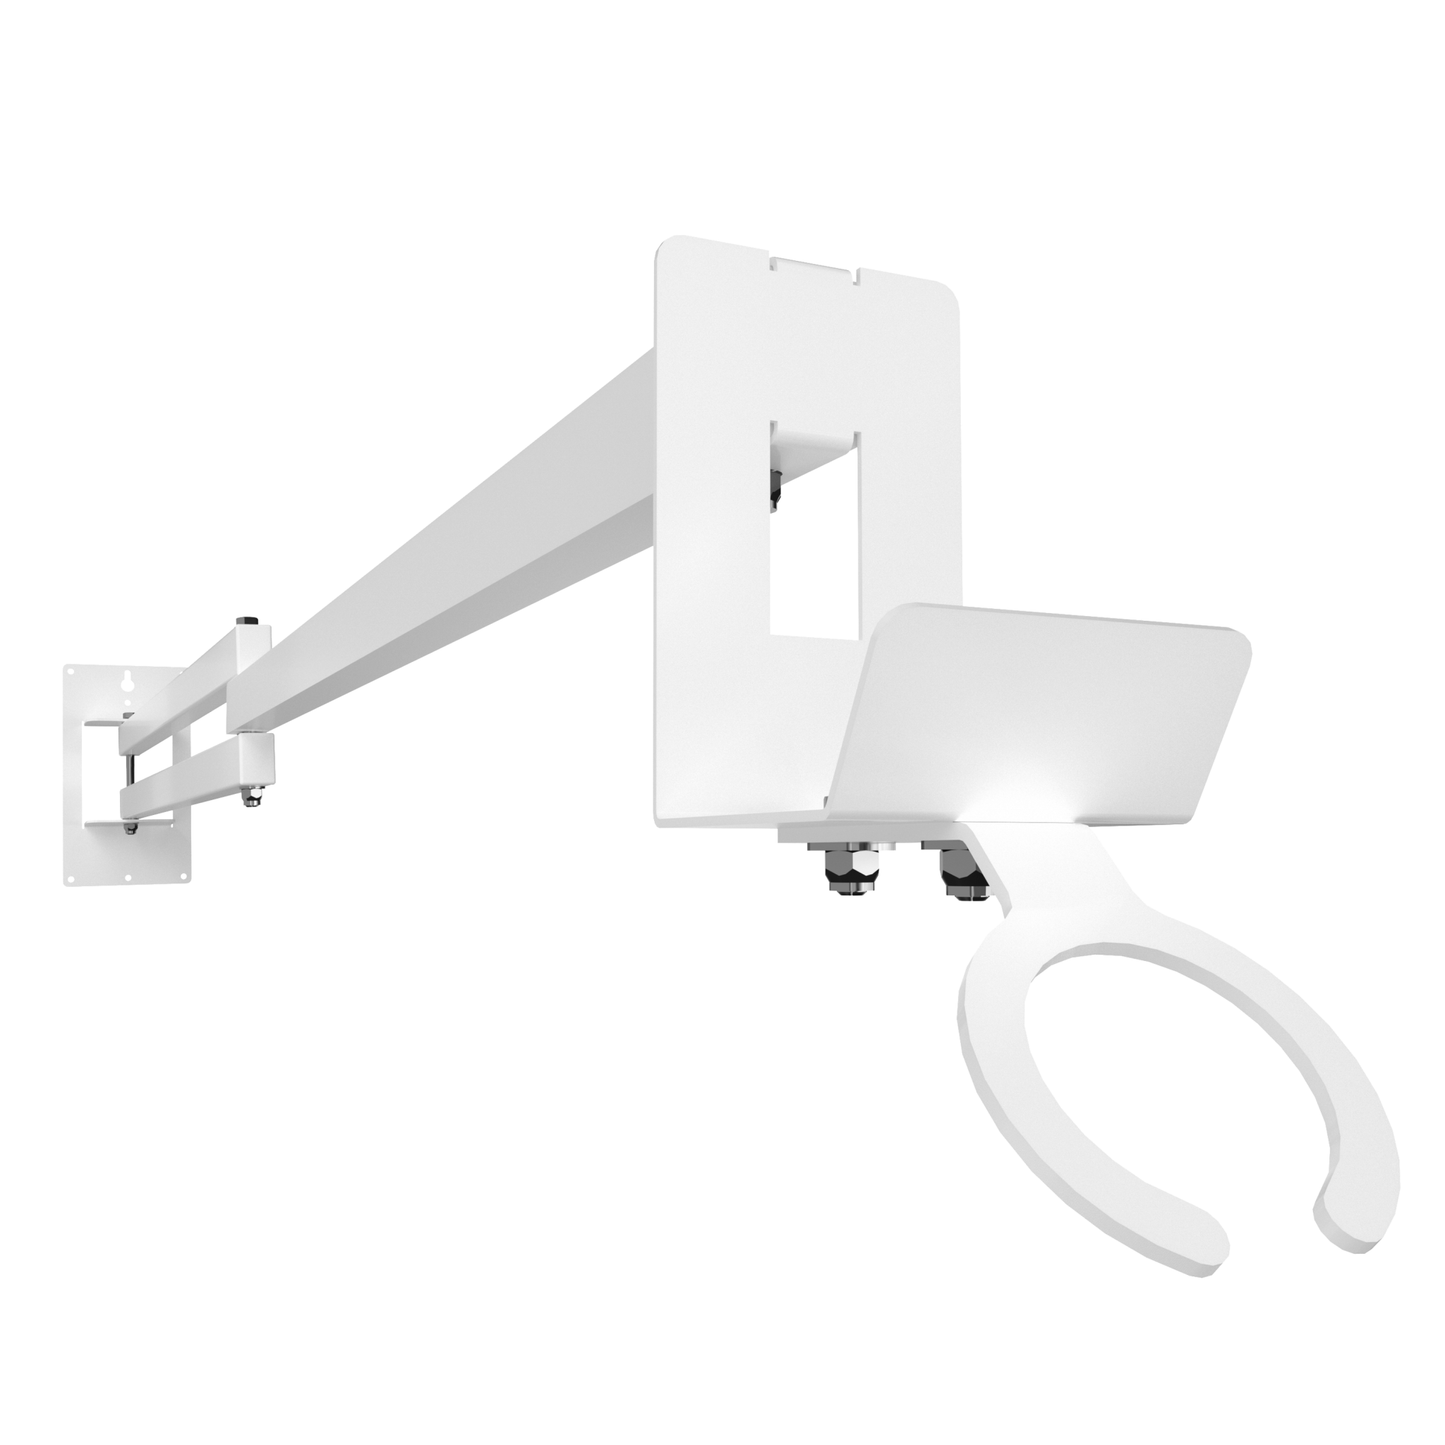
Step 1 - Attach the Hook [2] and Holster
- Thread the Stainless Steel Hex Bolt [3] through a Stainless Steel Washer and then through the Hook [2] (after attaching to the end of the EV Hover) and finish off with another Stainless Steel Washer and then attach the Lock Nut. Tighten with a wrench. Install screw cap on end.
- Thread the Stainless Steel Hex Bolts [5] through the Hook [2] (SOLD SEPARATELY) through the Holster and then through a Stainless Steel Washer and then attach the Lock Nut. Tighten with a wrench.
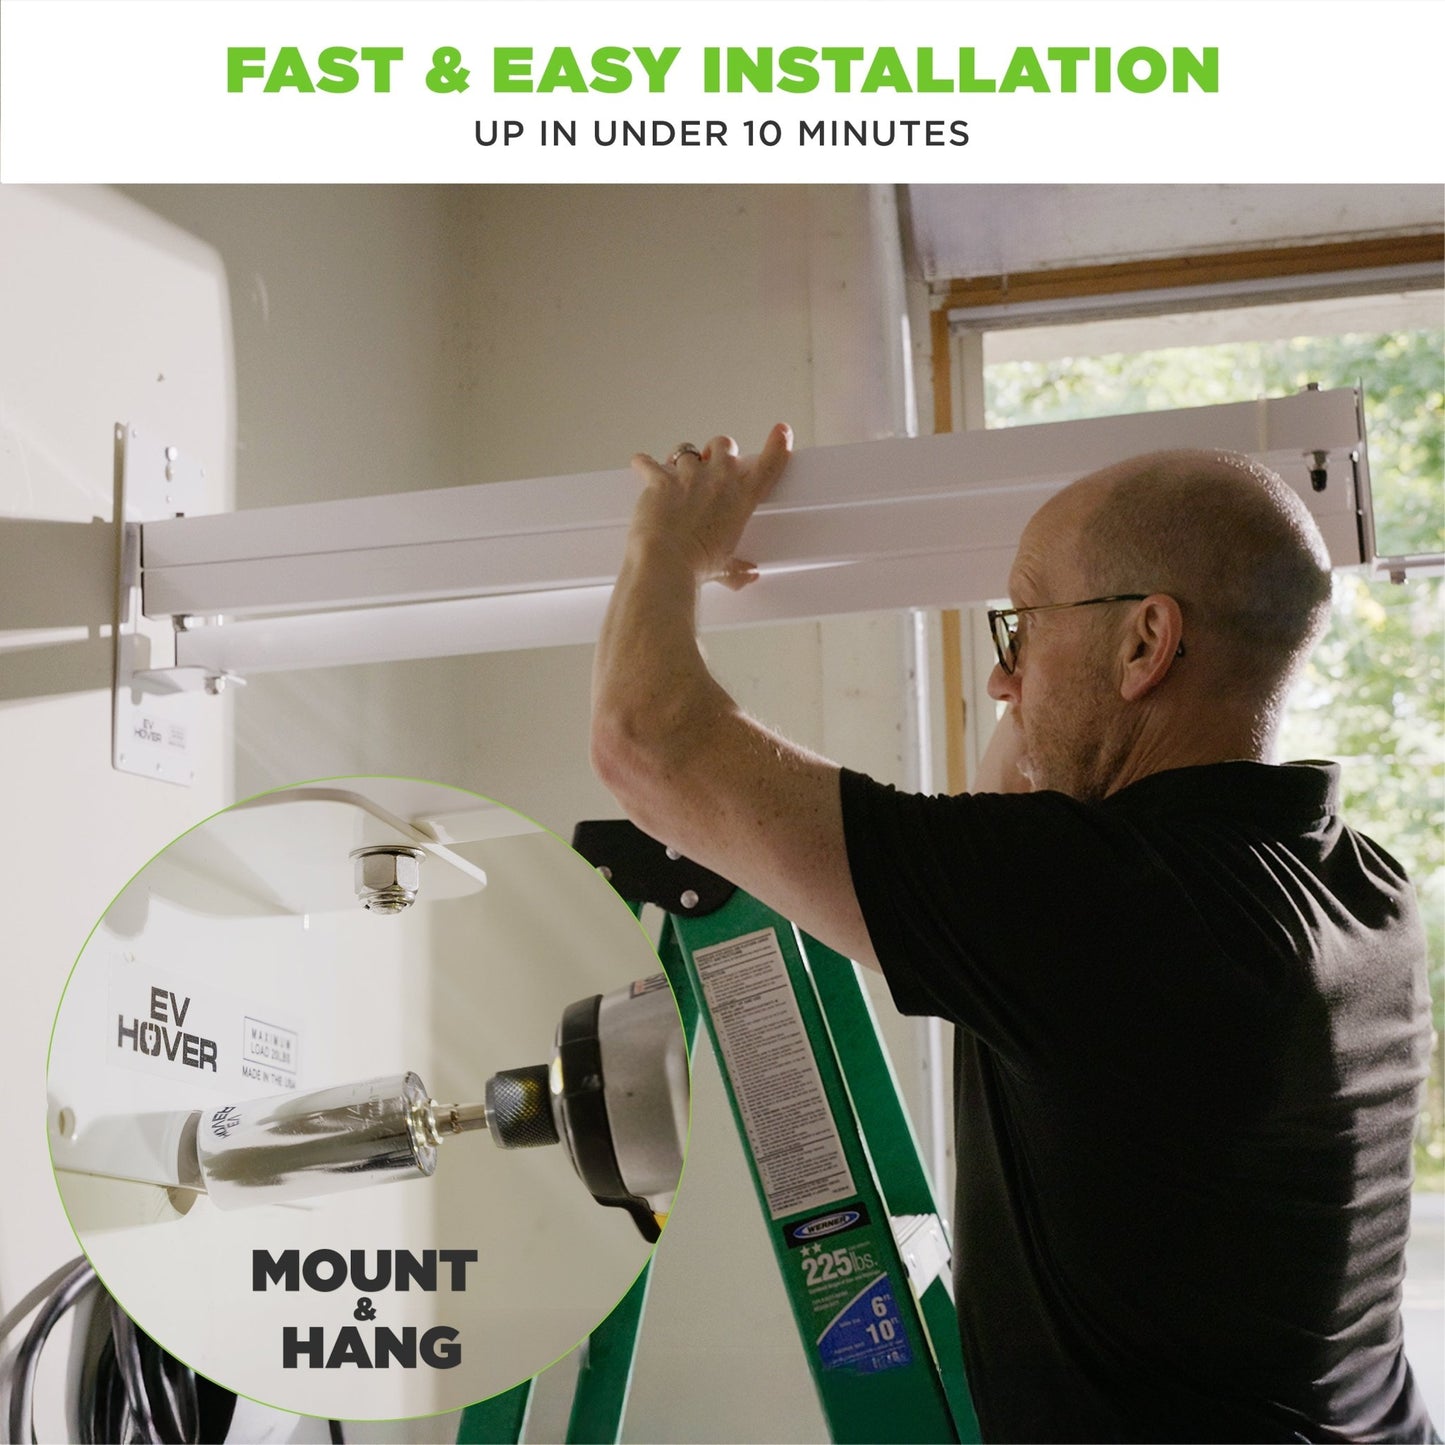
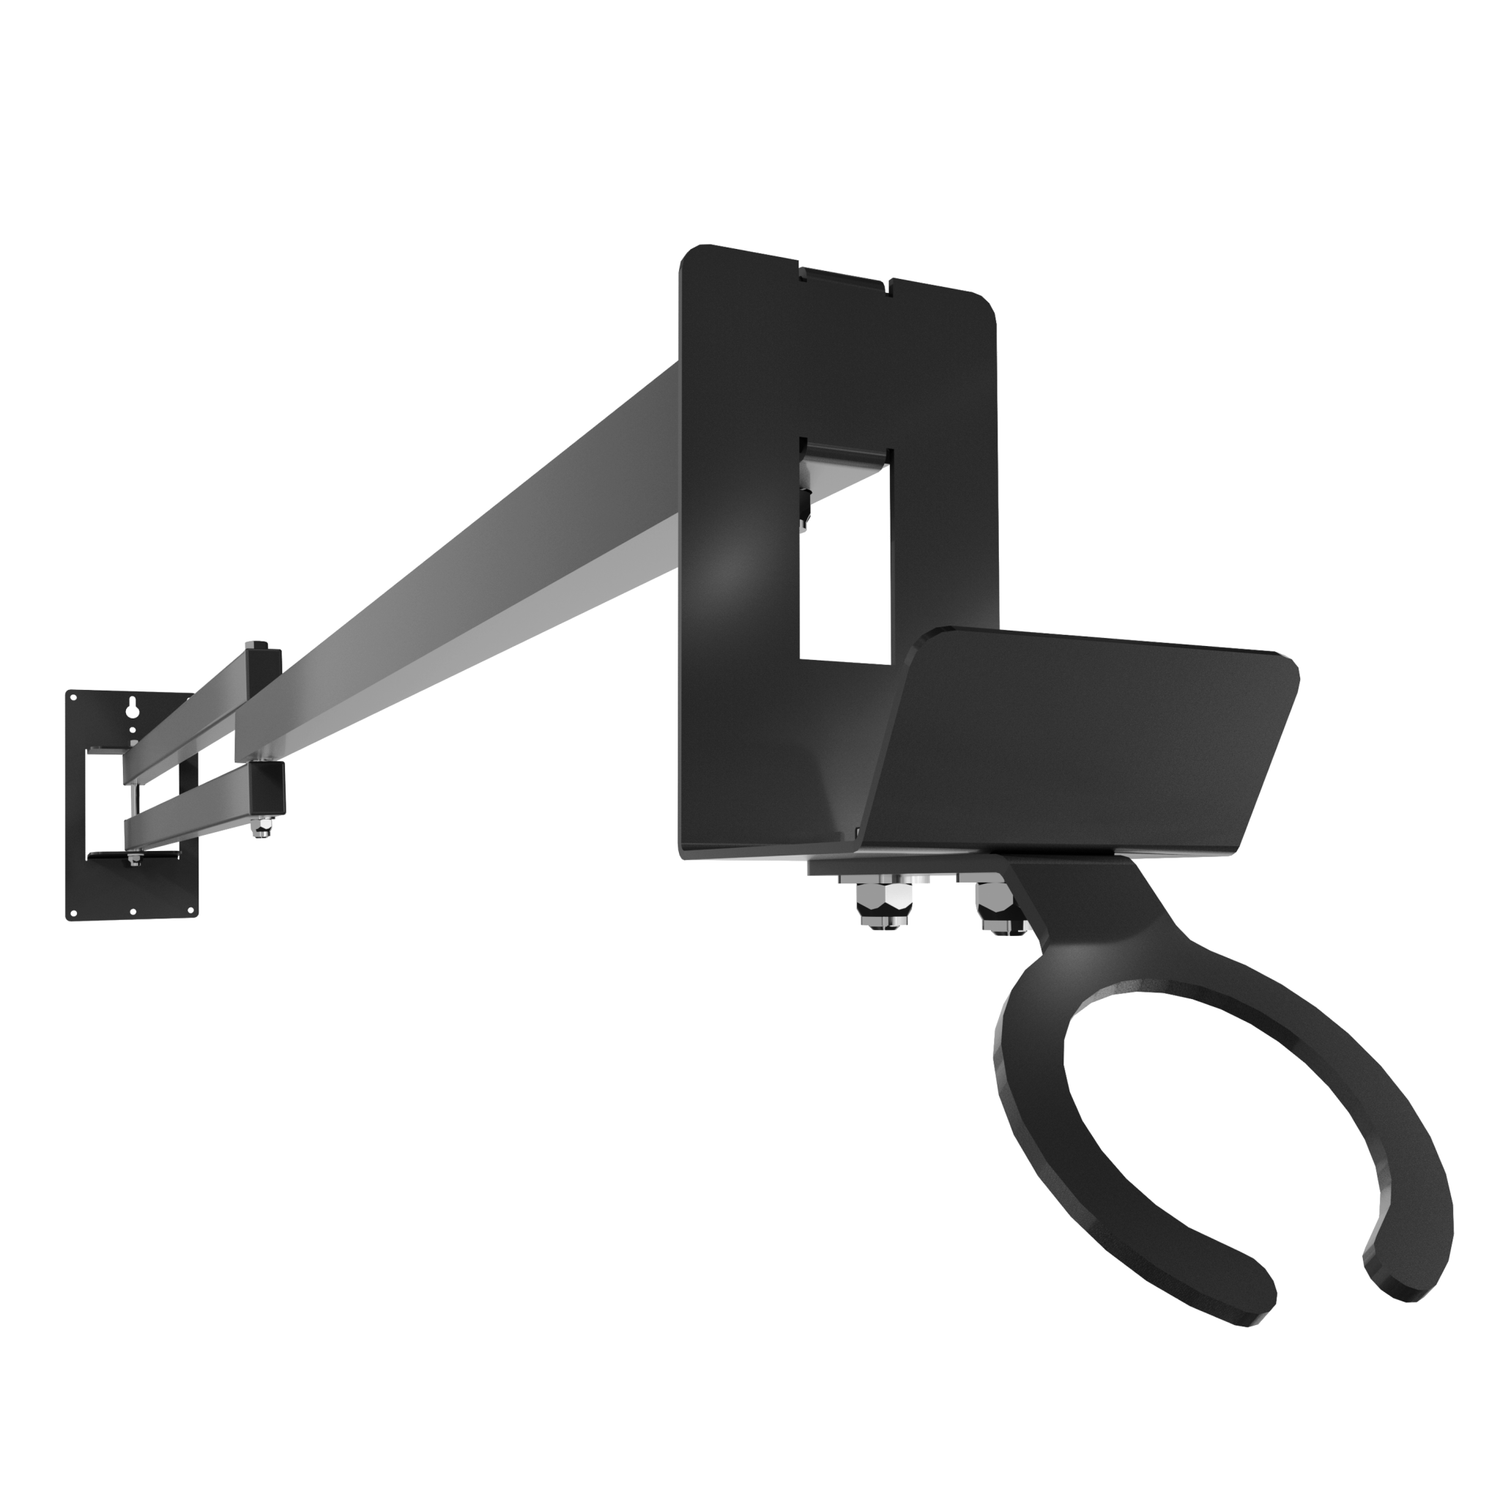
Step 2 - Mount to the Wall
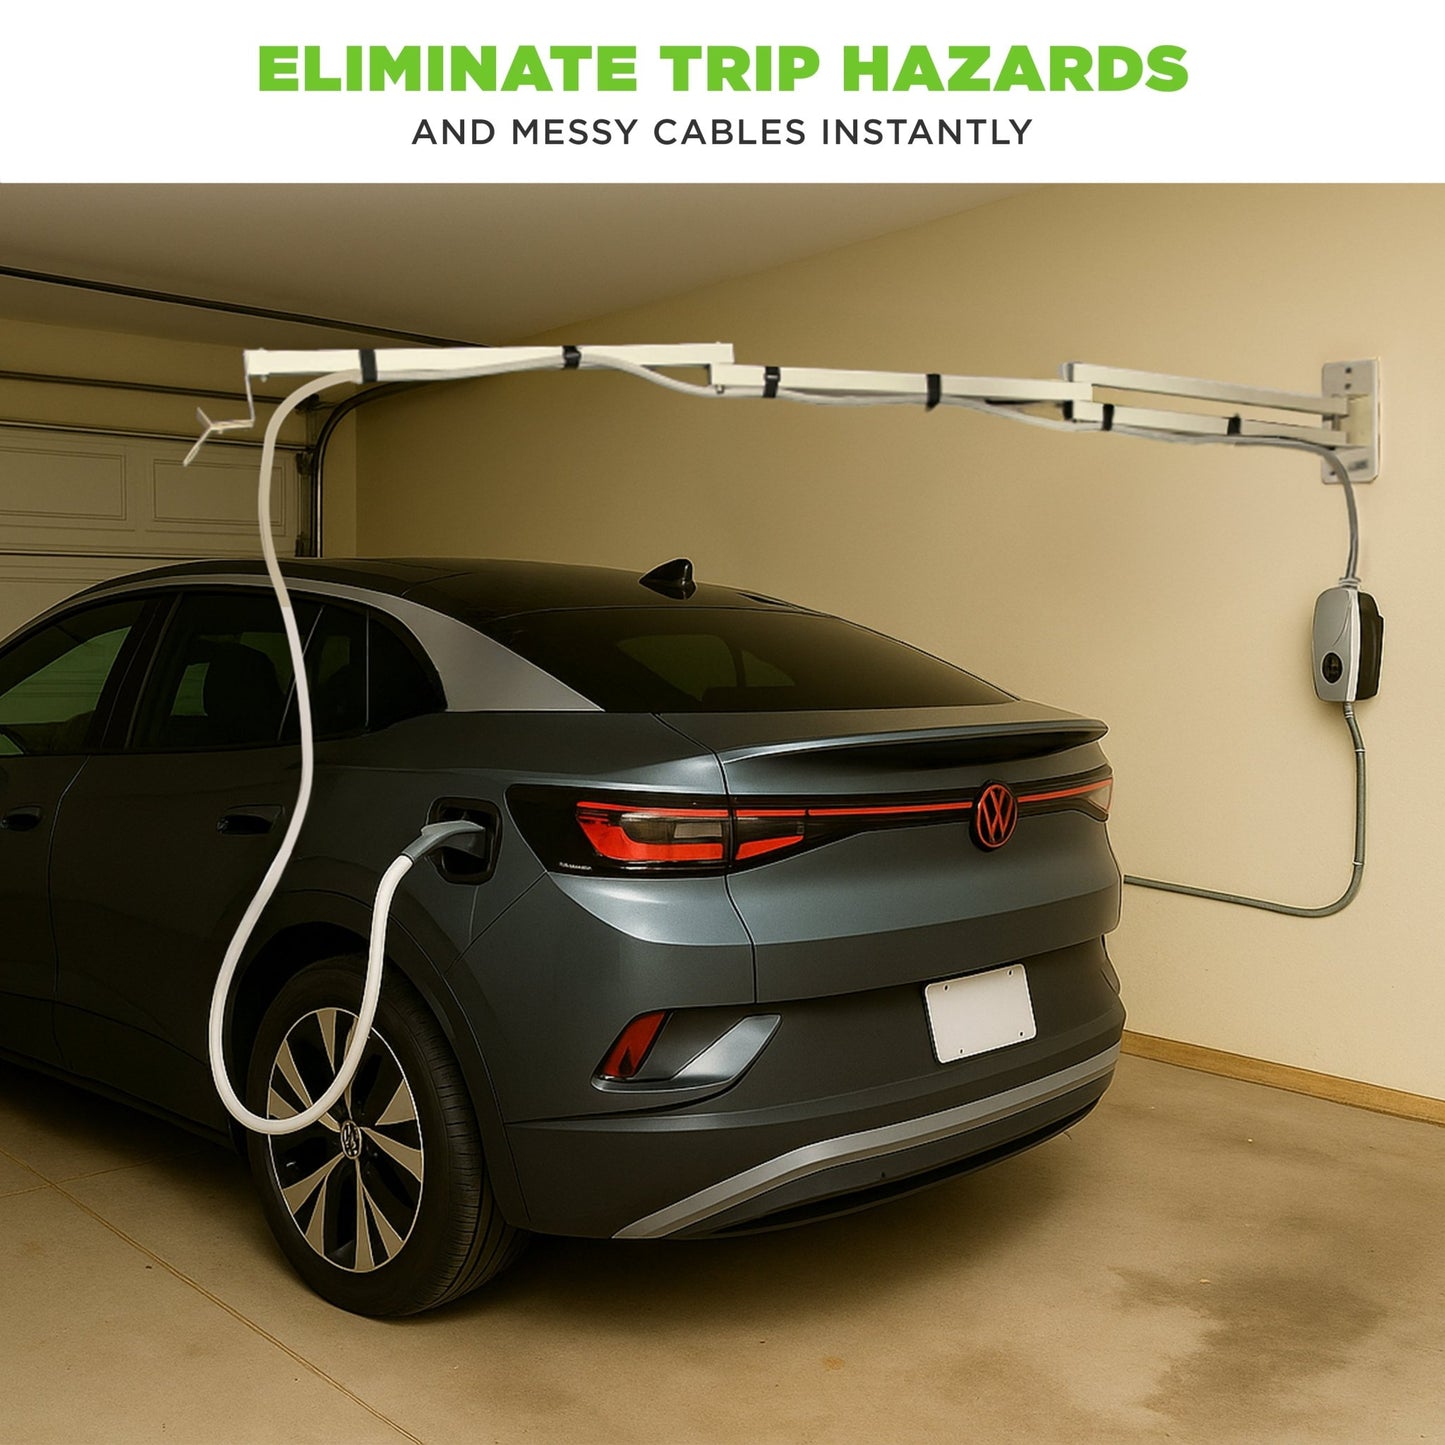
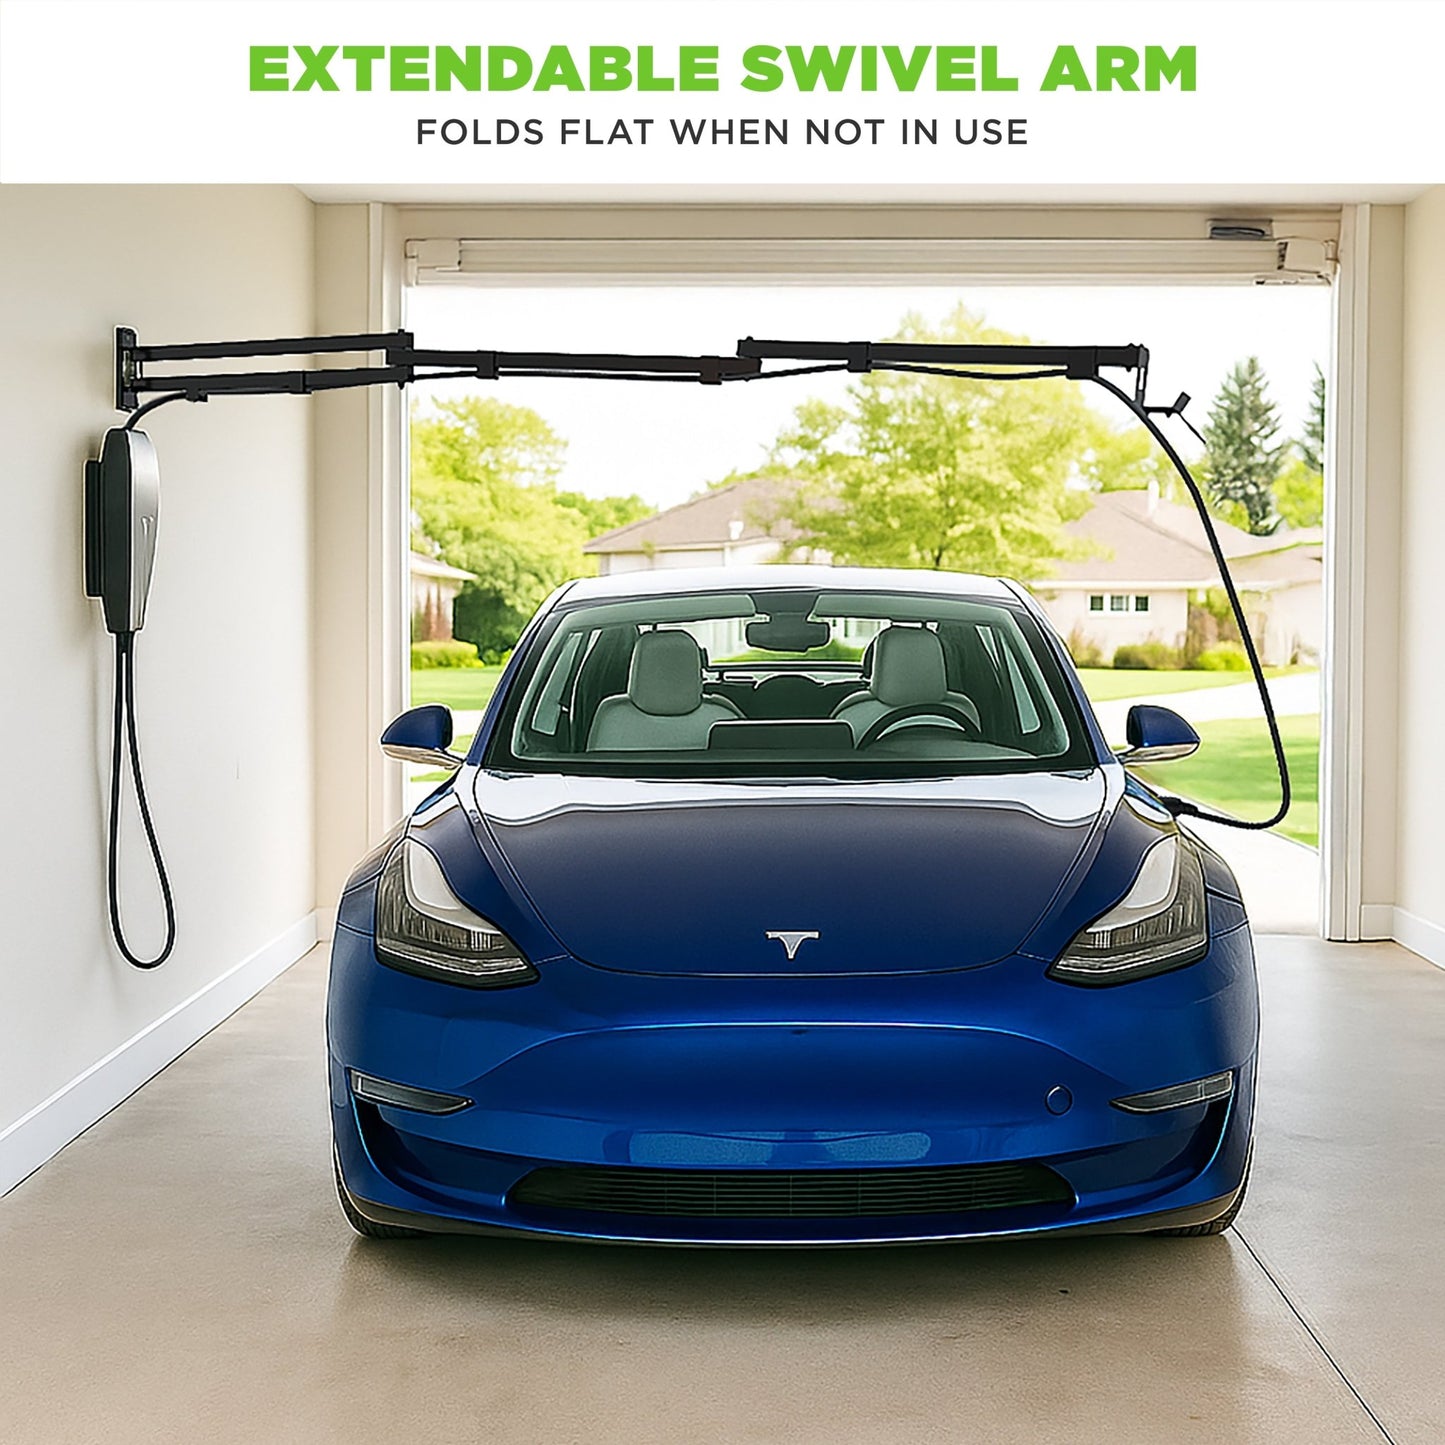
- Ensure your charging cable will reach the proposed vehicle location when threaded along the EV Hover arm.
- Select the desired location for your EV Hover - we recommend installing the wall bracket at least six or seven feet from the floor. Be sure to consider obstructions that may present an issue when extending or swivelling the arm.
- Find a stud using a stud finder and mark the edges of the stud with a pencil
- Drill a pilot hole and then fasten one of the Hex Head Lag Bolts [6] to the wall.
- Hang the EV Hover from the keyhole on the mounting plate.
- While holding the EV Hover up, level the mounting plate using the Level [7] and mark the other holes below the keyhole.
- Drill pilot holes and install the other two Hex Head Lag Bolts [6] first with a 7/16” Ratchet Wrench.
- Attach the Screw Cap [9] to the protruding screw under the arm.
Step 3 - Install the Velcro Straps [8]
Install the velcro straps by wrapping them around the cable and EV Hover, leaving room for movement. Next, adjust your cable to the appropriate length allowing enough length for the end of your charger cable to hang down below the hook to reach your vehicle and then tighten the velcro straps. Adjust the hook as needed by squeezing or pulling apart.
Congratulations, your EV Hover is fully functional and ready to go!
EV Hover does not require routine maintenance however, periodic inspections should be conducted to ensure that all parts remain in good working order and no damage exists. Do not attempt to open, disassemble, repair, tamper with, or modify any components of the products – the products are not user serviceable. Contact EV Hover for any repairs.
Terms of Warranty
The warranty applies only when the product is used in accordance to the specified conditions and for the intended purposes, following all manufacturer’s recommendations. Please contact help@evhover.com with your proof of purchase.


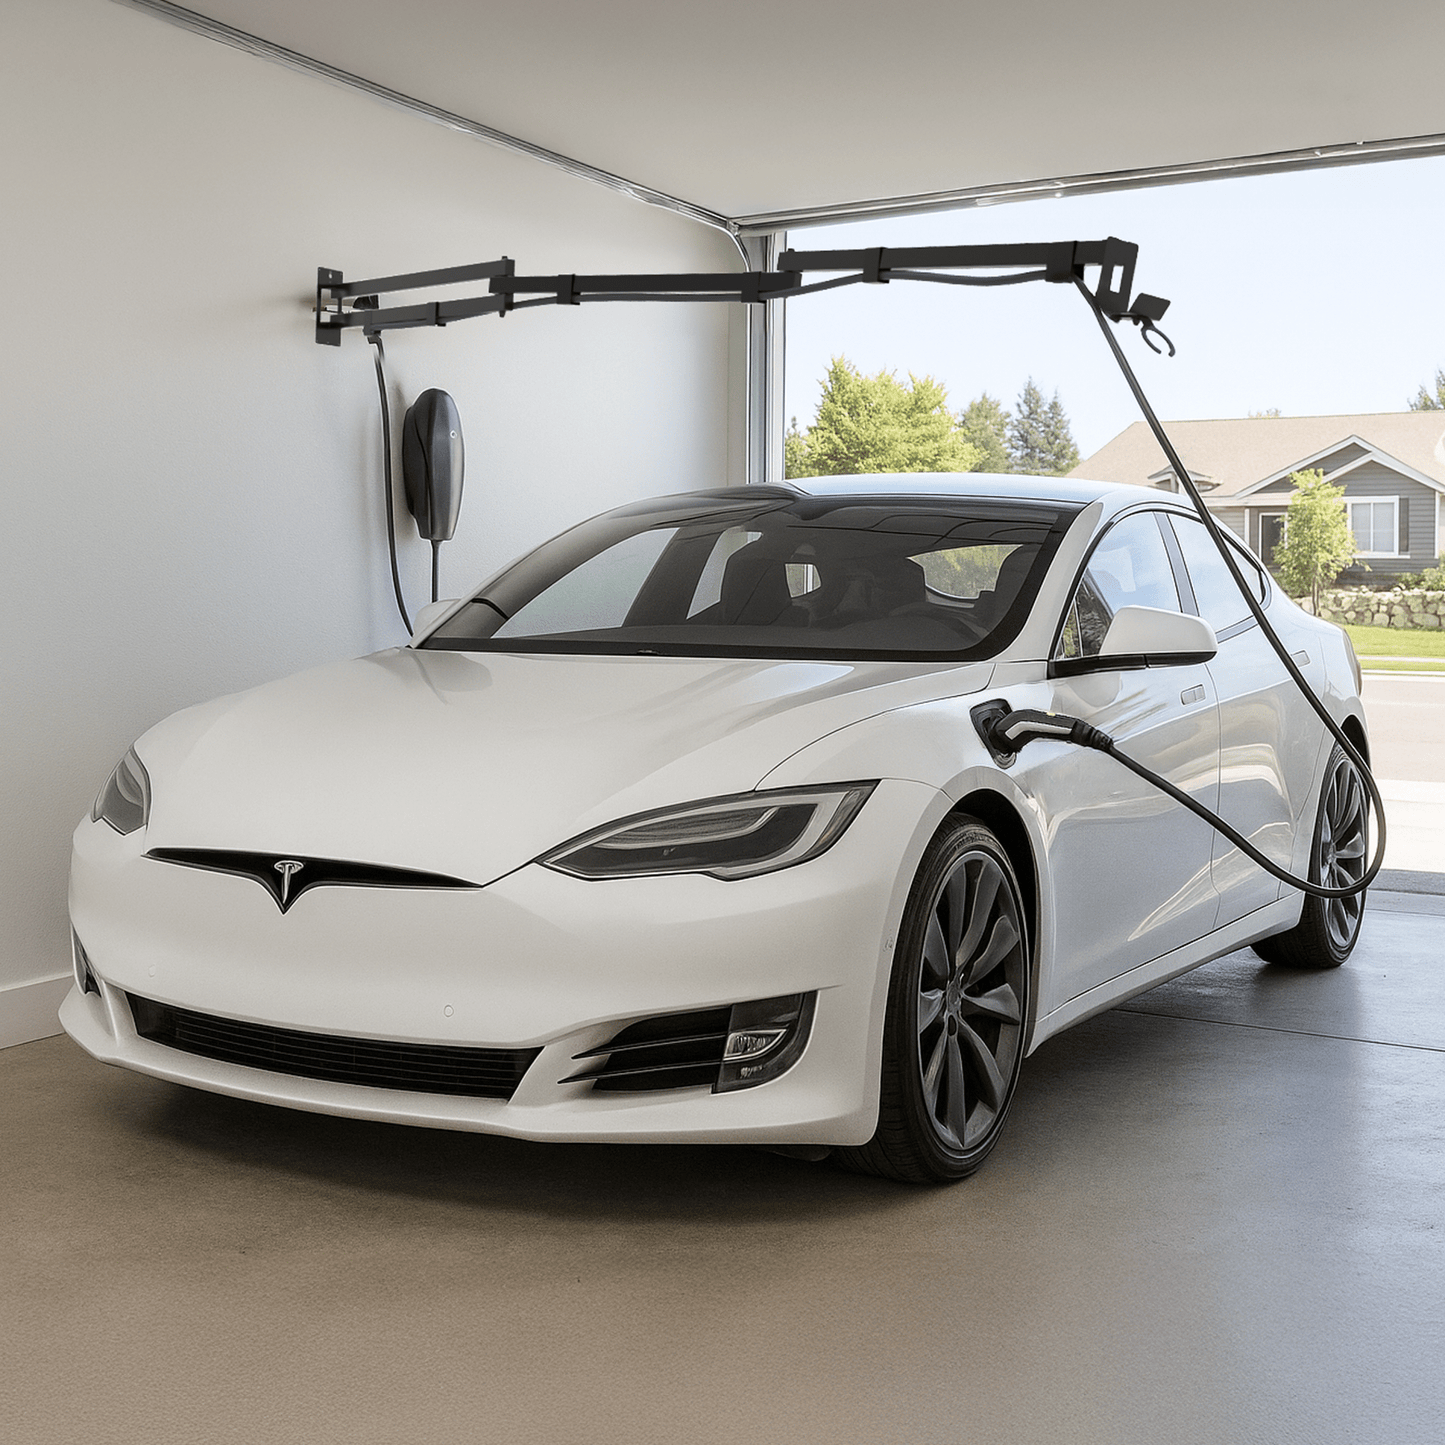
EV Hover
EV Hover v4 Wall-Mounted EV Charging Cable Arm, 6¼–9¼ ft
Share